I made a promise. I would create a blog post with my top tips and resources they could use. It’s my pleasure to present my views on travel and street photography. With some tips and tricks that I’ve learned over the years shooting in over 95 countries.
While not meant to be a complete guide, this is a solid look at how I view this beautiful art form and how my mind works when I’m out shooting. Feel free to reach out and let me know your method and thoughts.
LINKS AT THE BOTTOM
Ethics of Street Photography
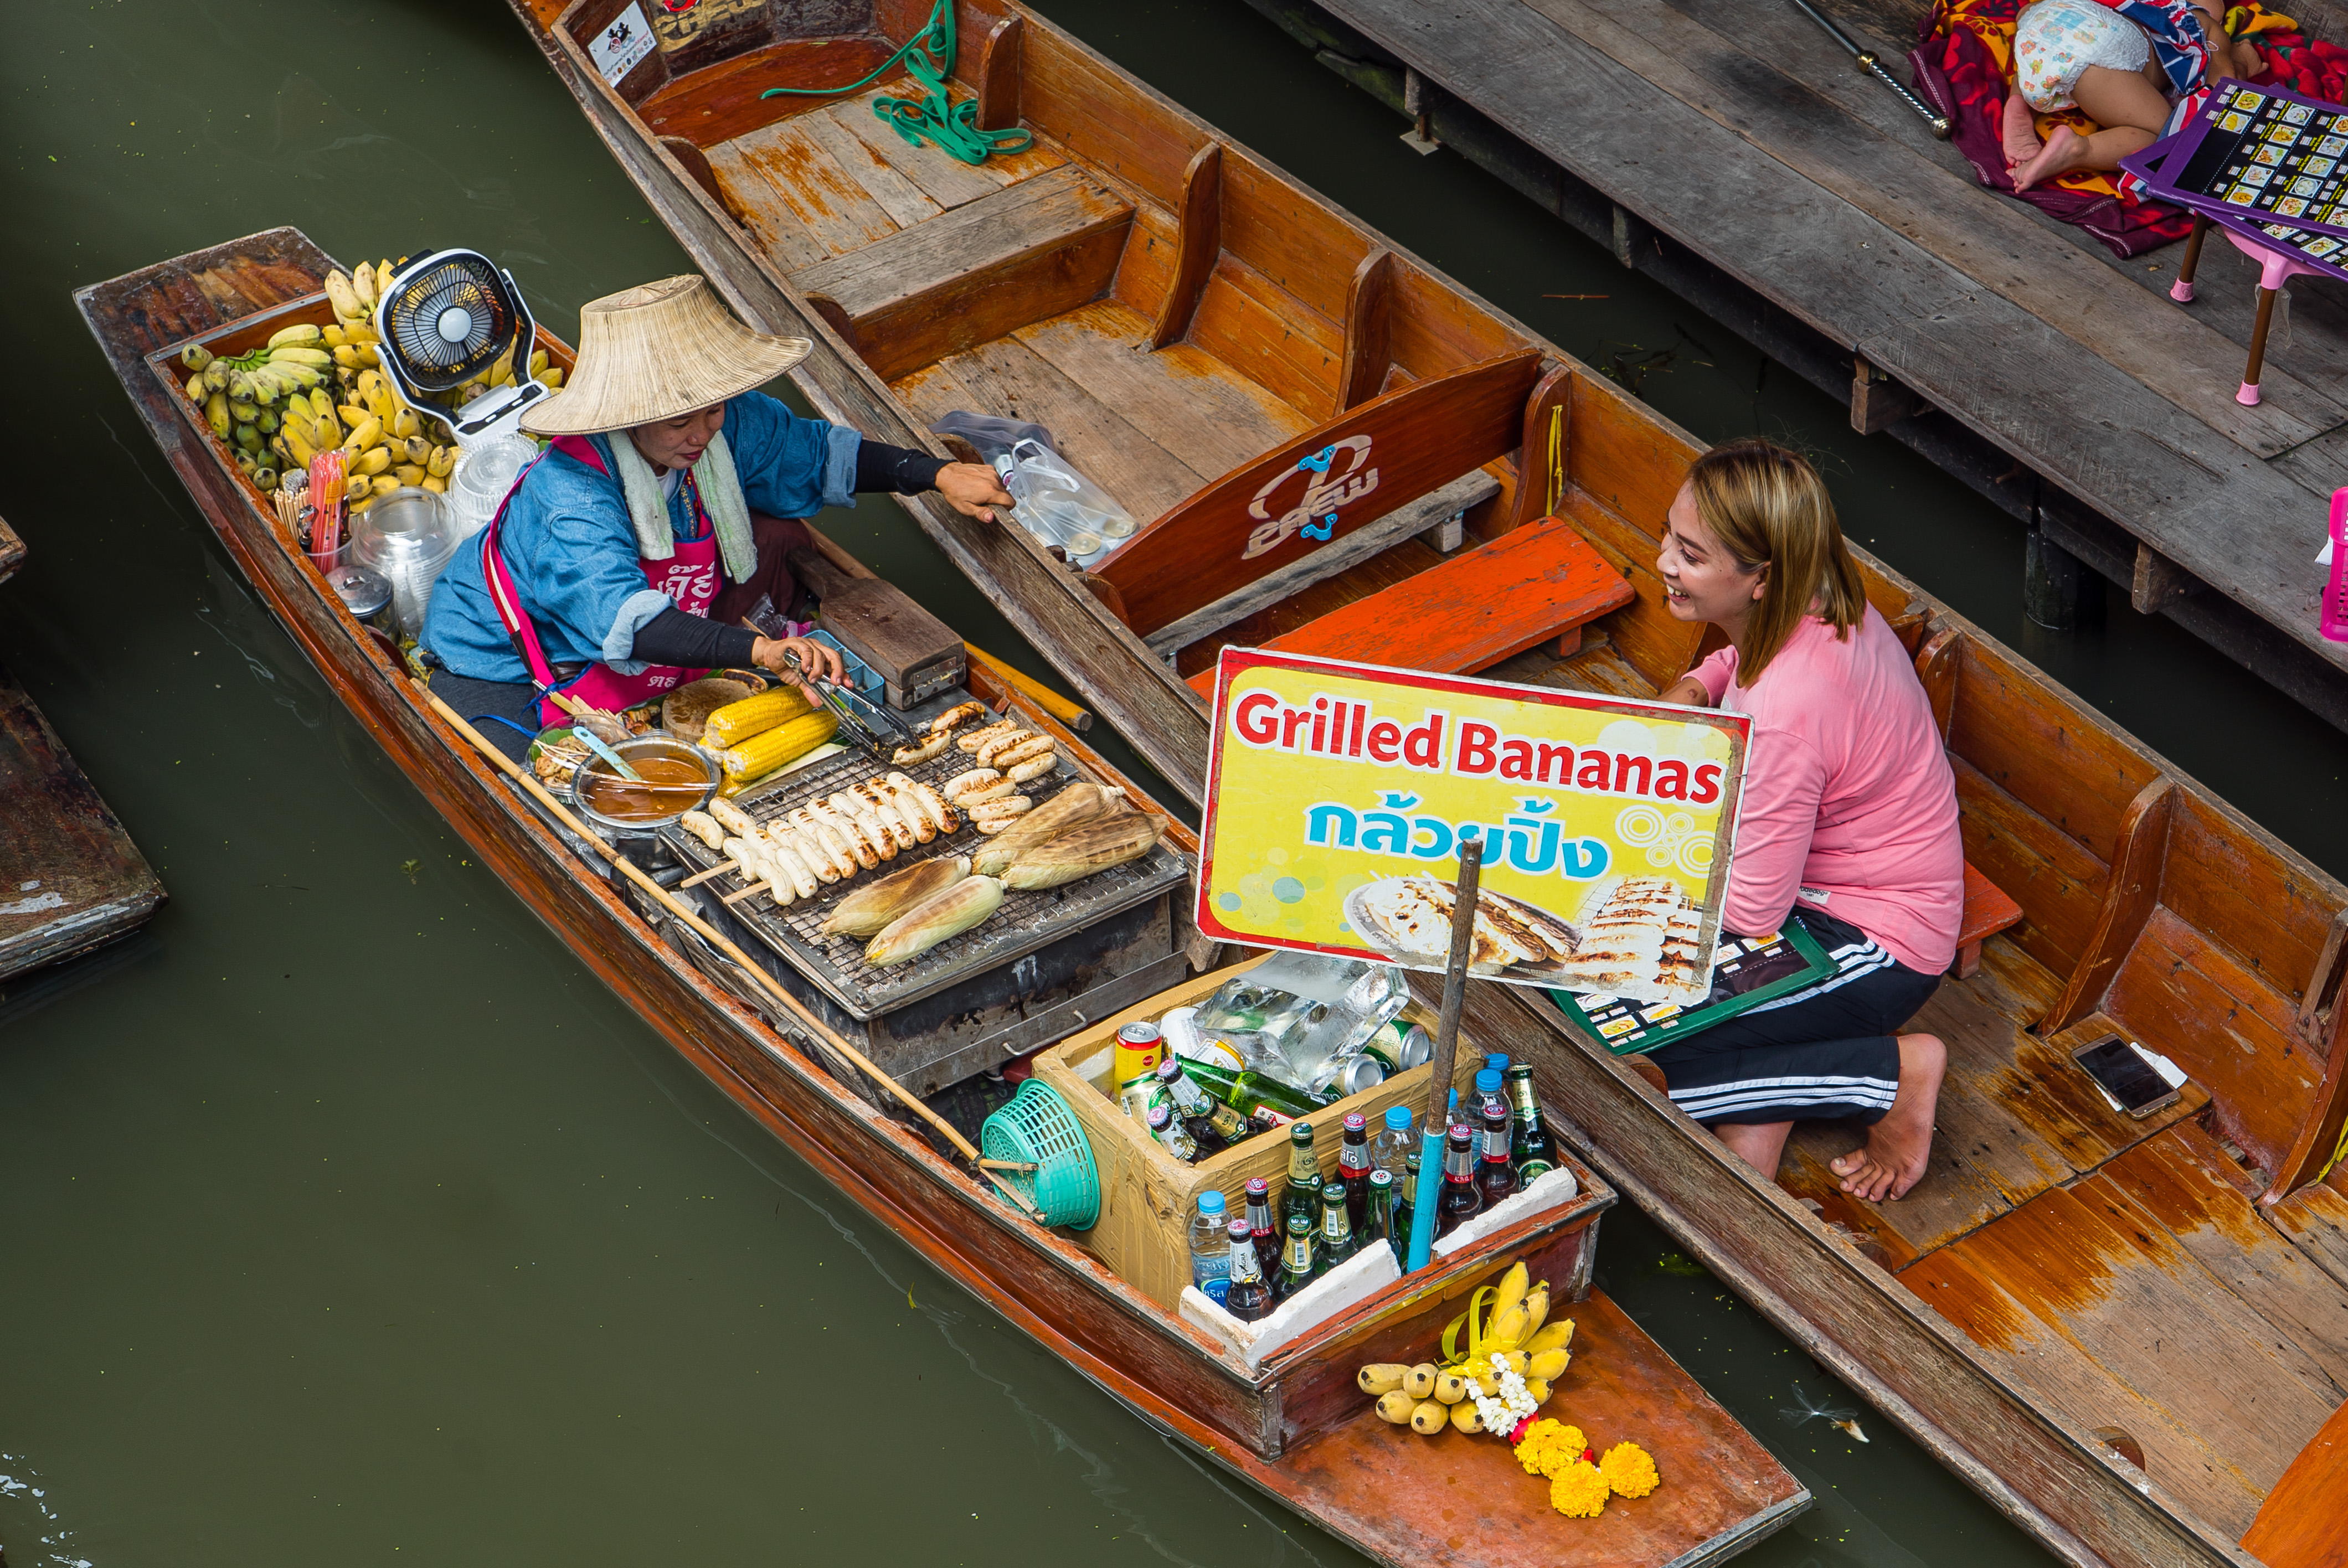
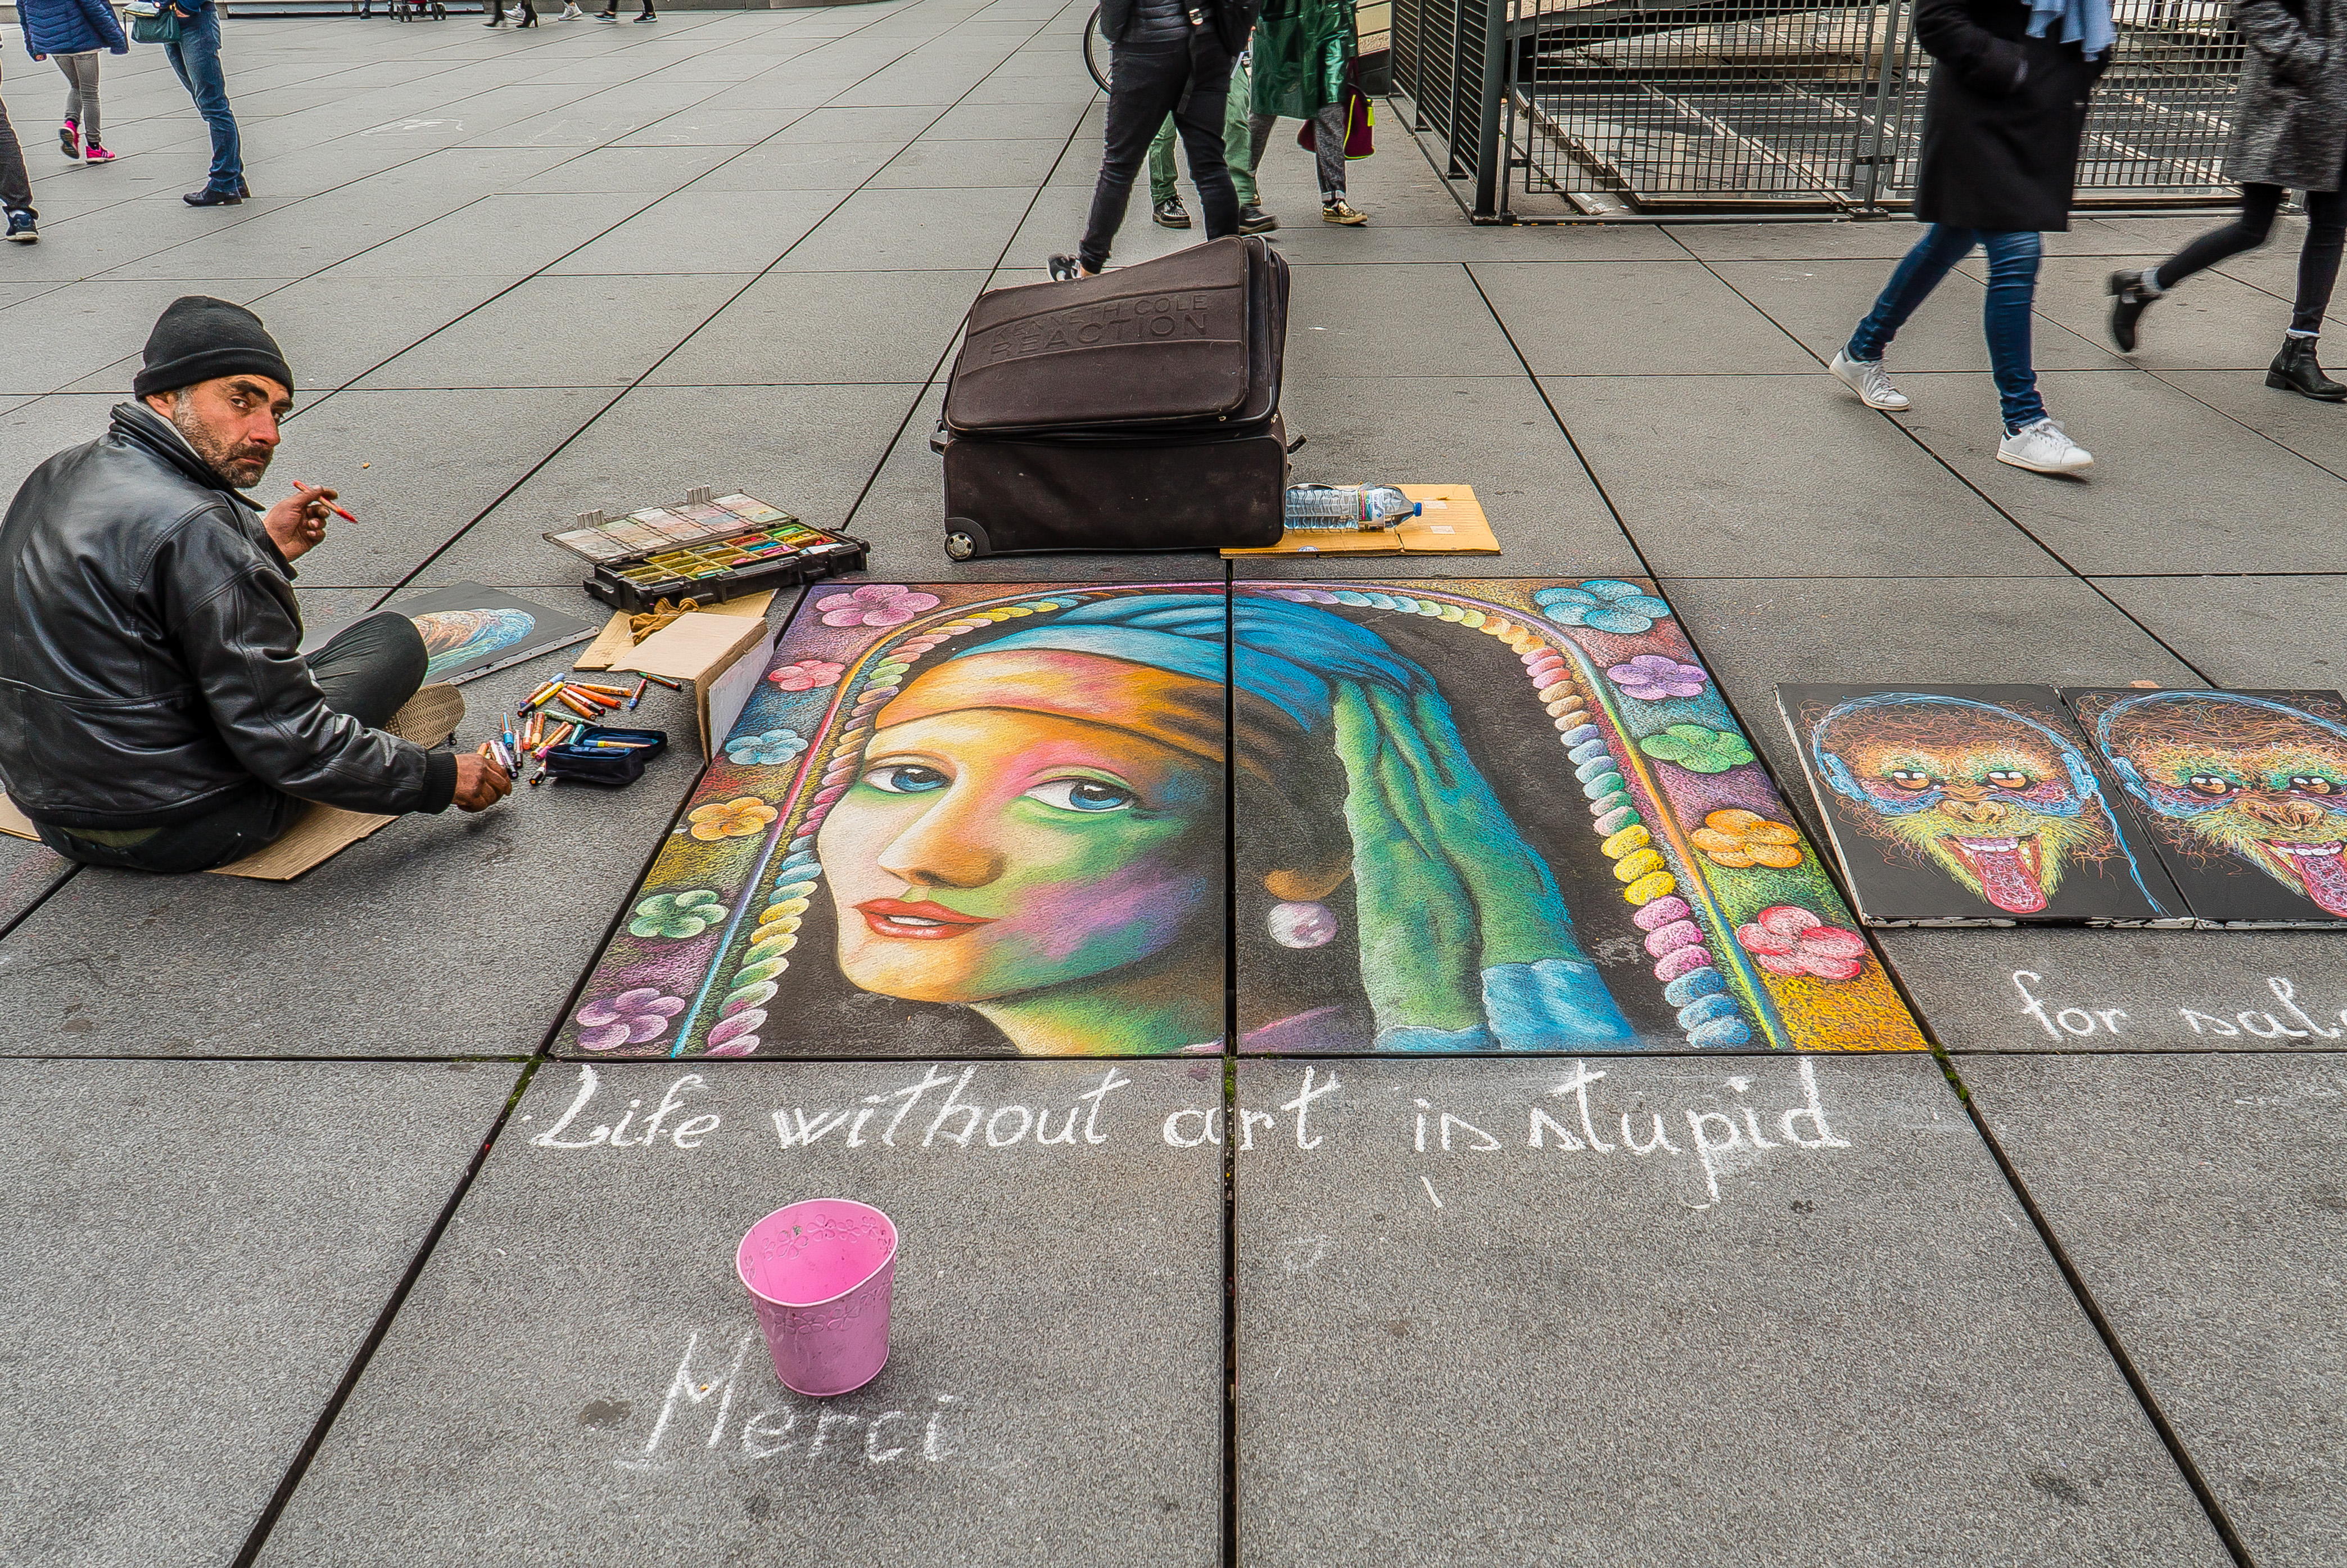
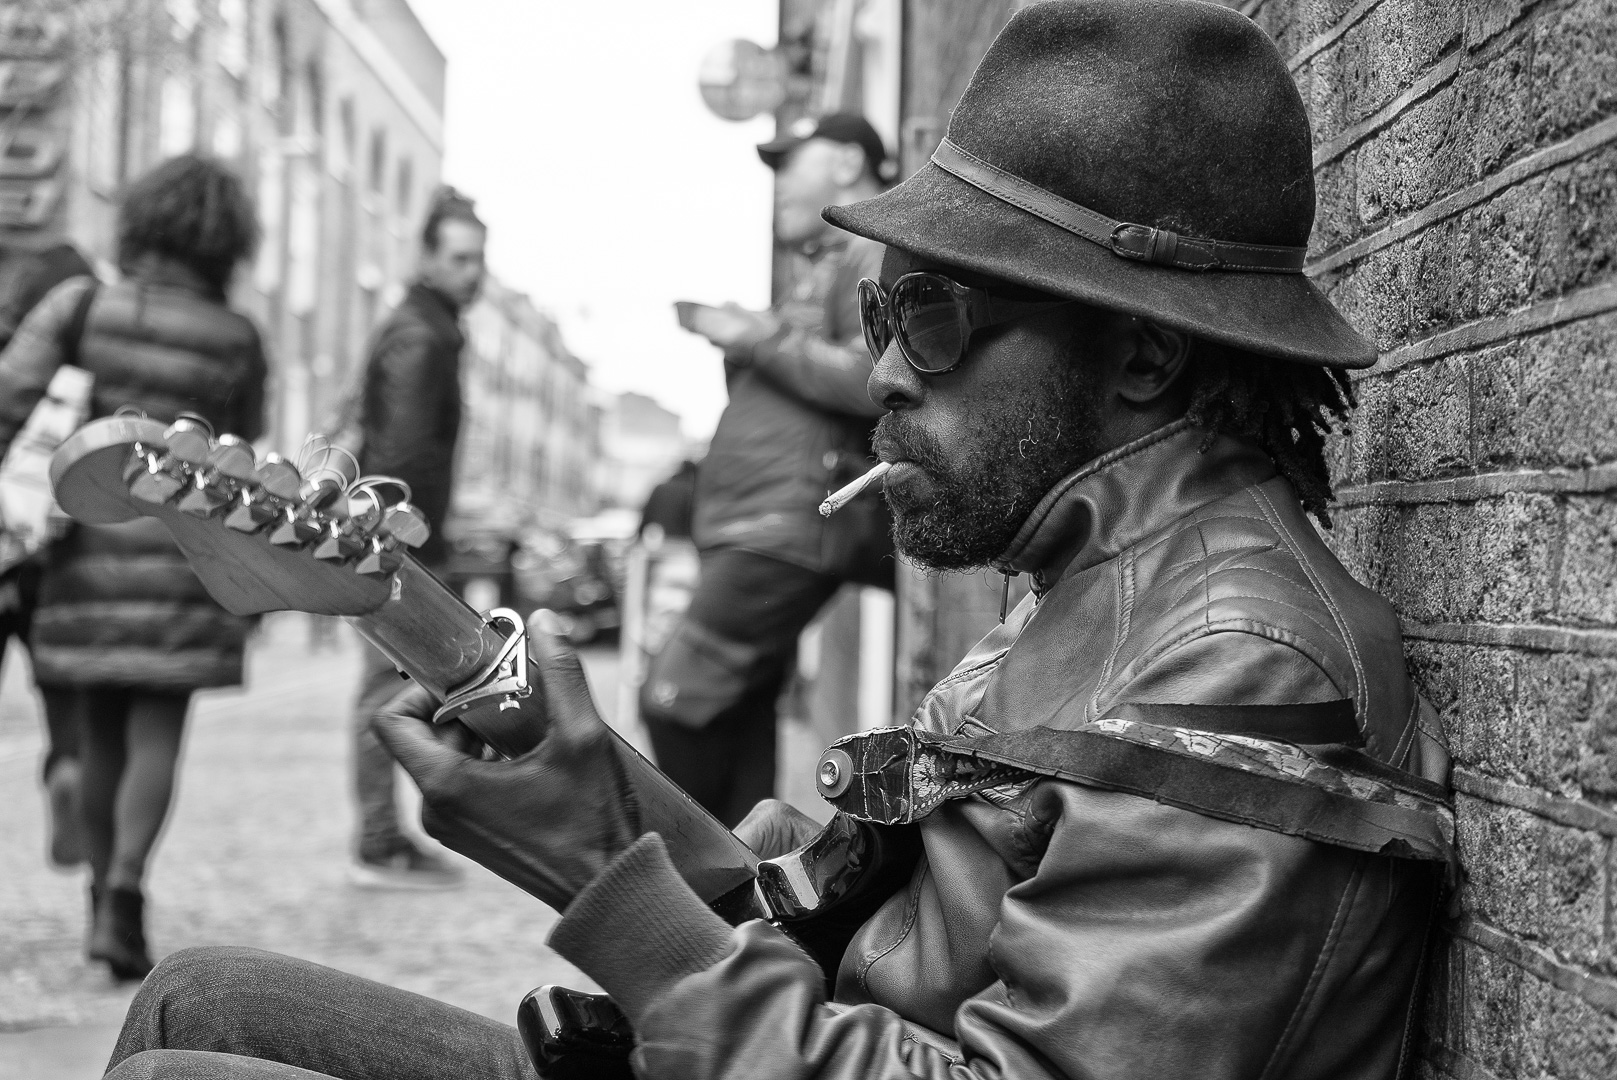
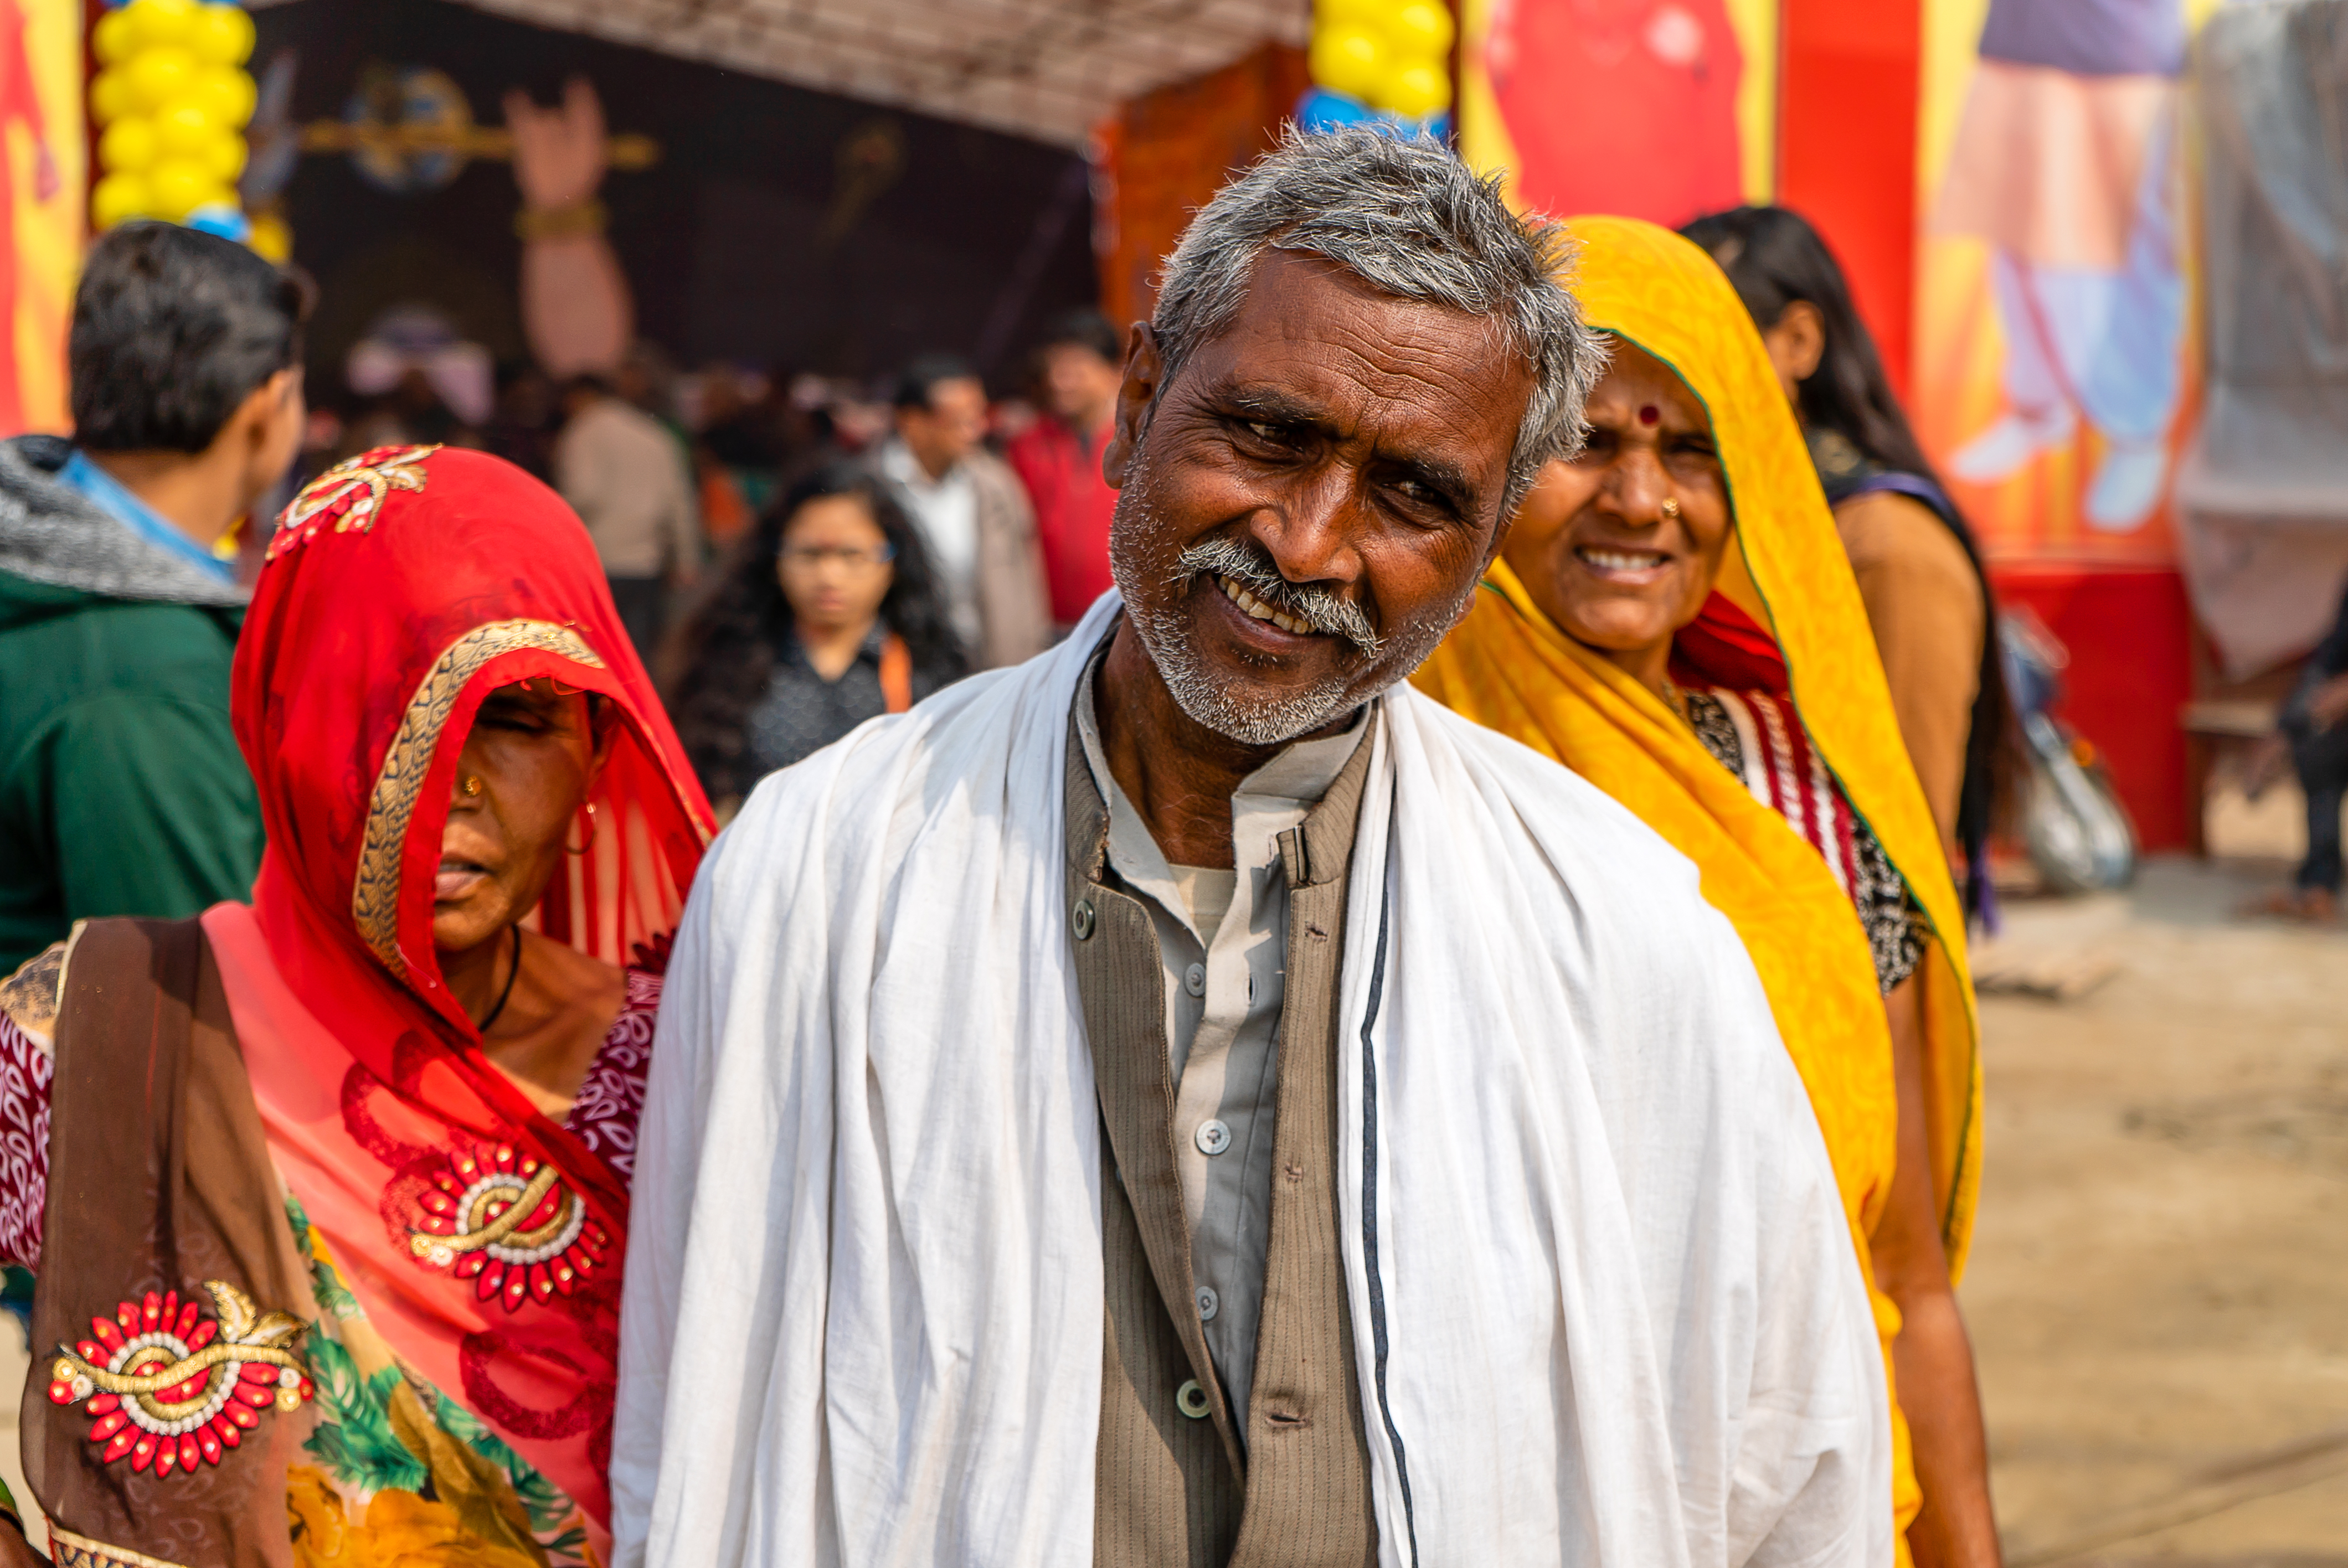
Let me start with a controversial POV. Get comfortable with asking peoples permission to take their picture. People tend to fall in one of two camps on the “ethics” of street photography. You ask permission or you don’t. Personally, sometimes I do and sometimes I don’t. But I have a personal code which I adhere to which I’ll cover later.
No matter where you fall on this subject the simple reality, you’ll have some amazing opportunities to shoot people when you ask for permission. Not only are you likely to get smiles and posing, but you just might get access to their lives which you wouldn’t have had otherwise. Here are a few tips.
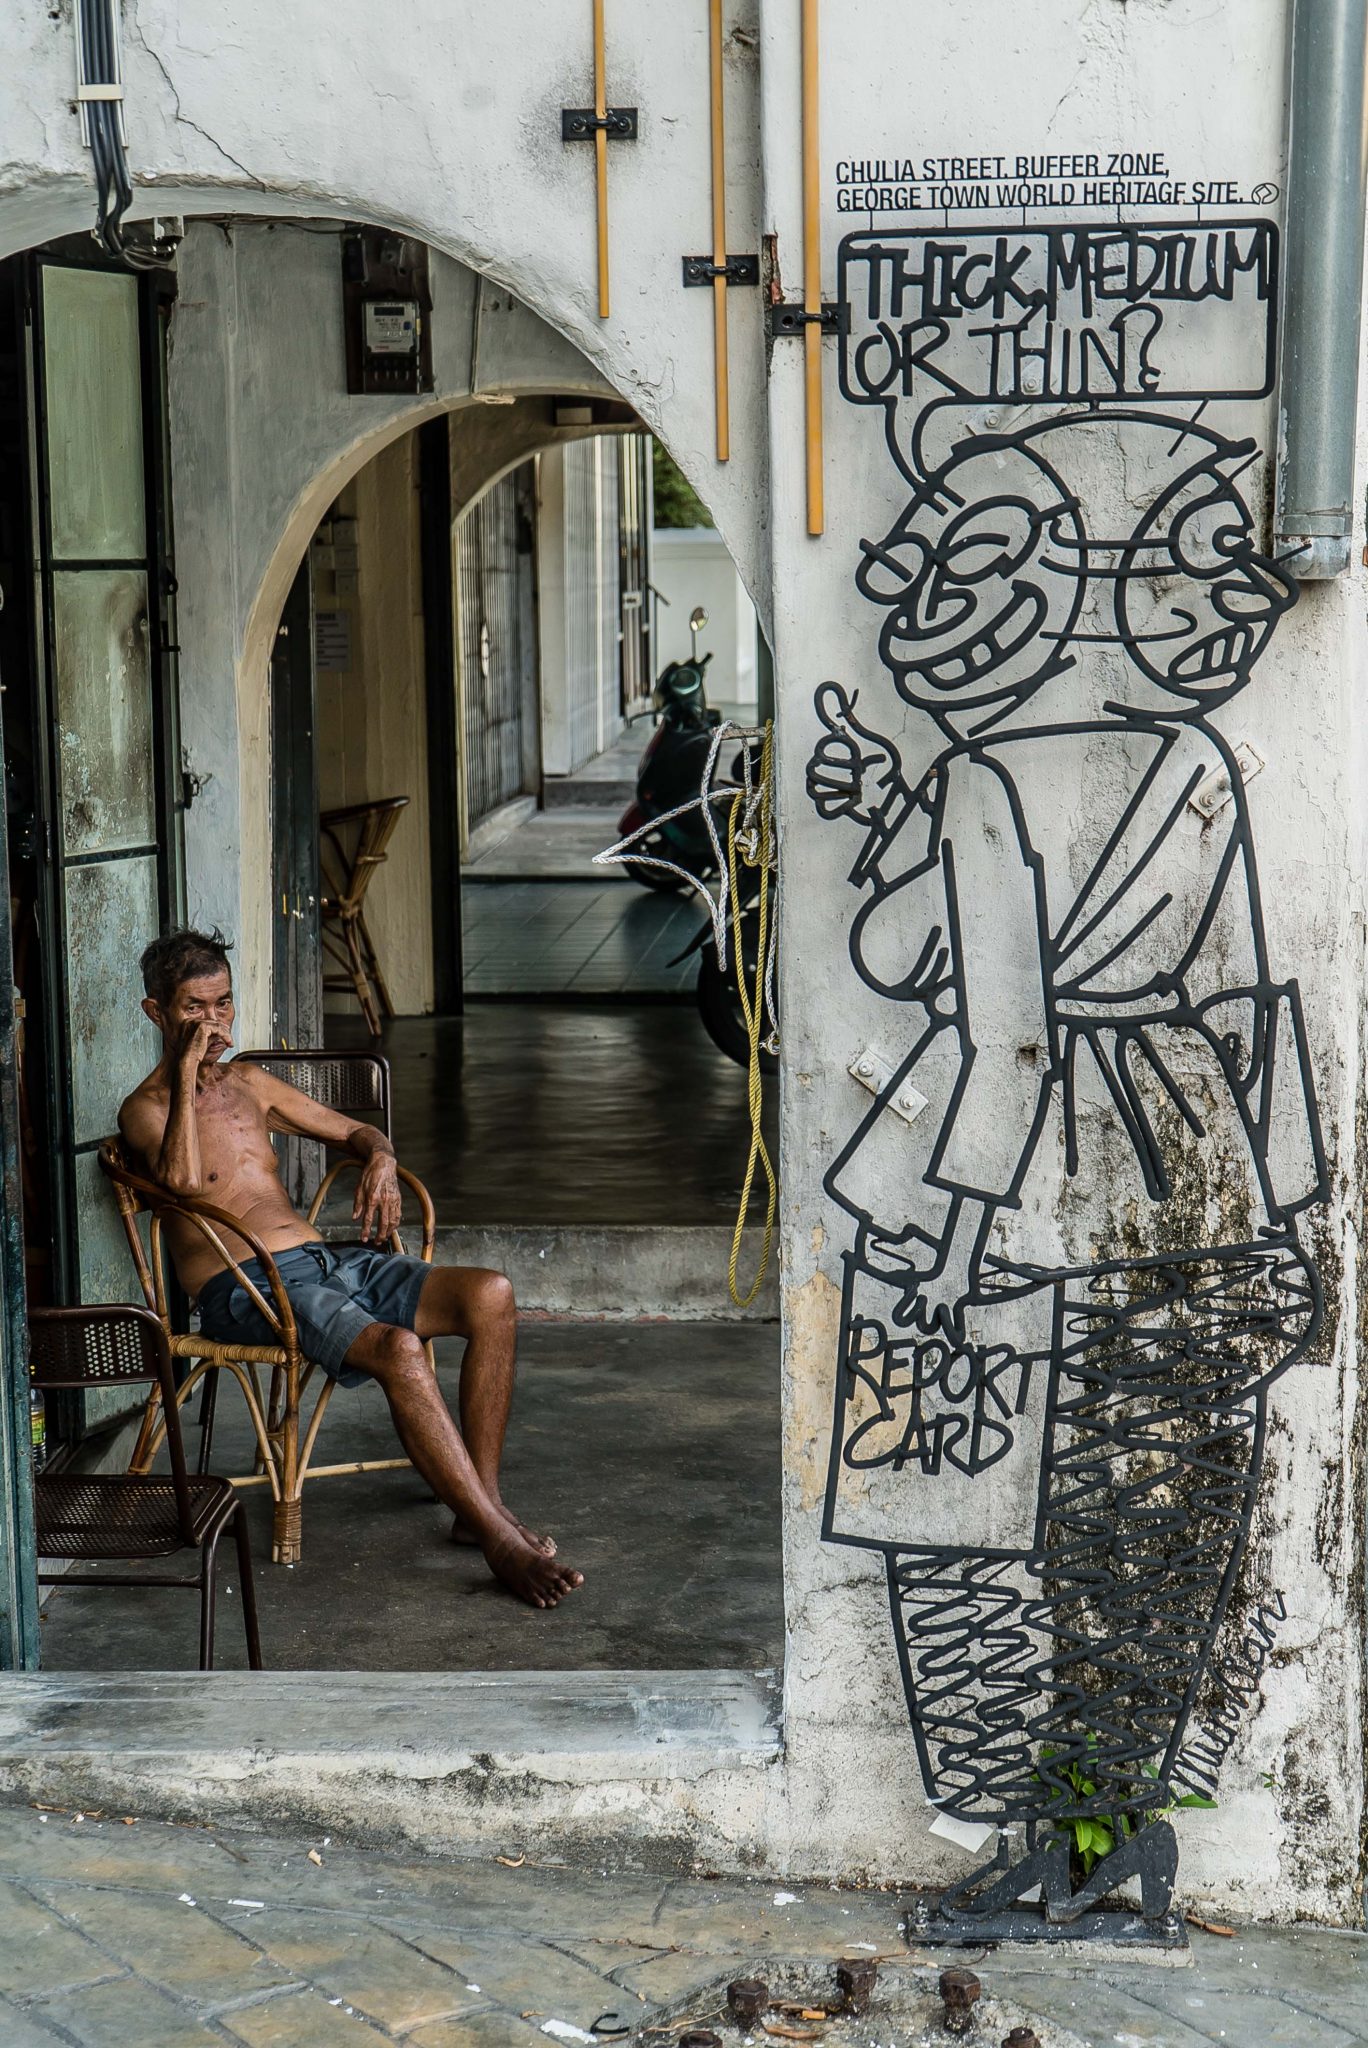
1. Compliment them. Especially those who look “eccentric”. Places like NYC, Tokyo, and Berlin are the perfect place to approach people that are dressed outside of the norm. They usually are extremely receptive to having their pictures taken.
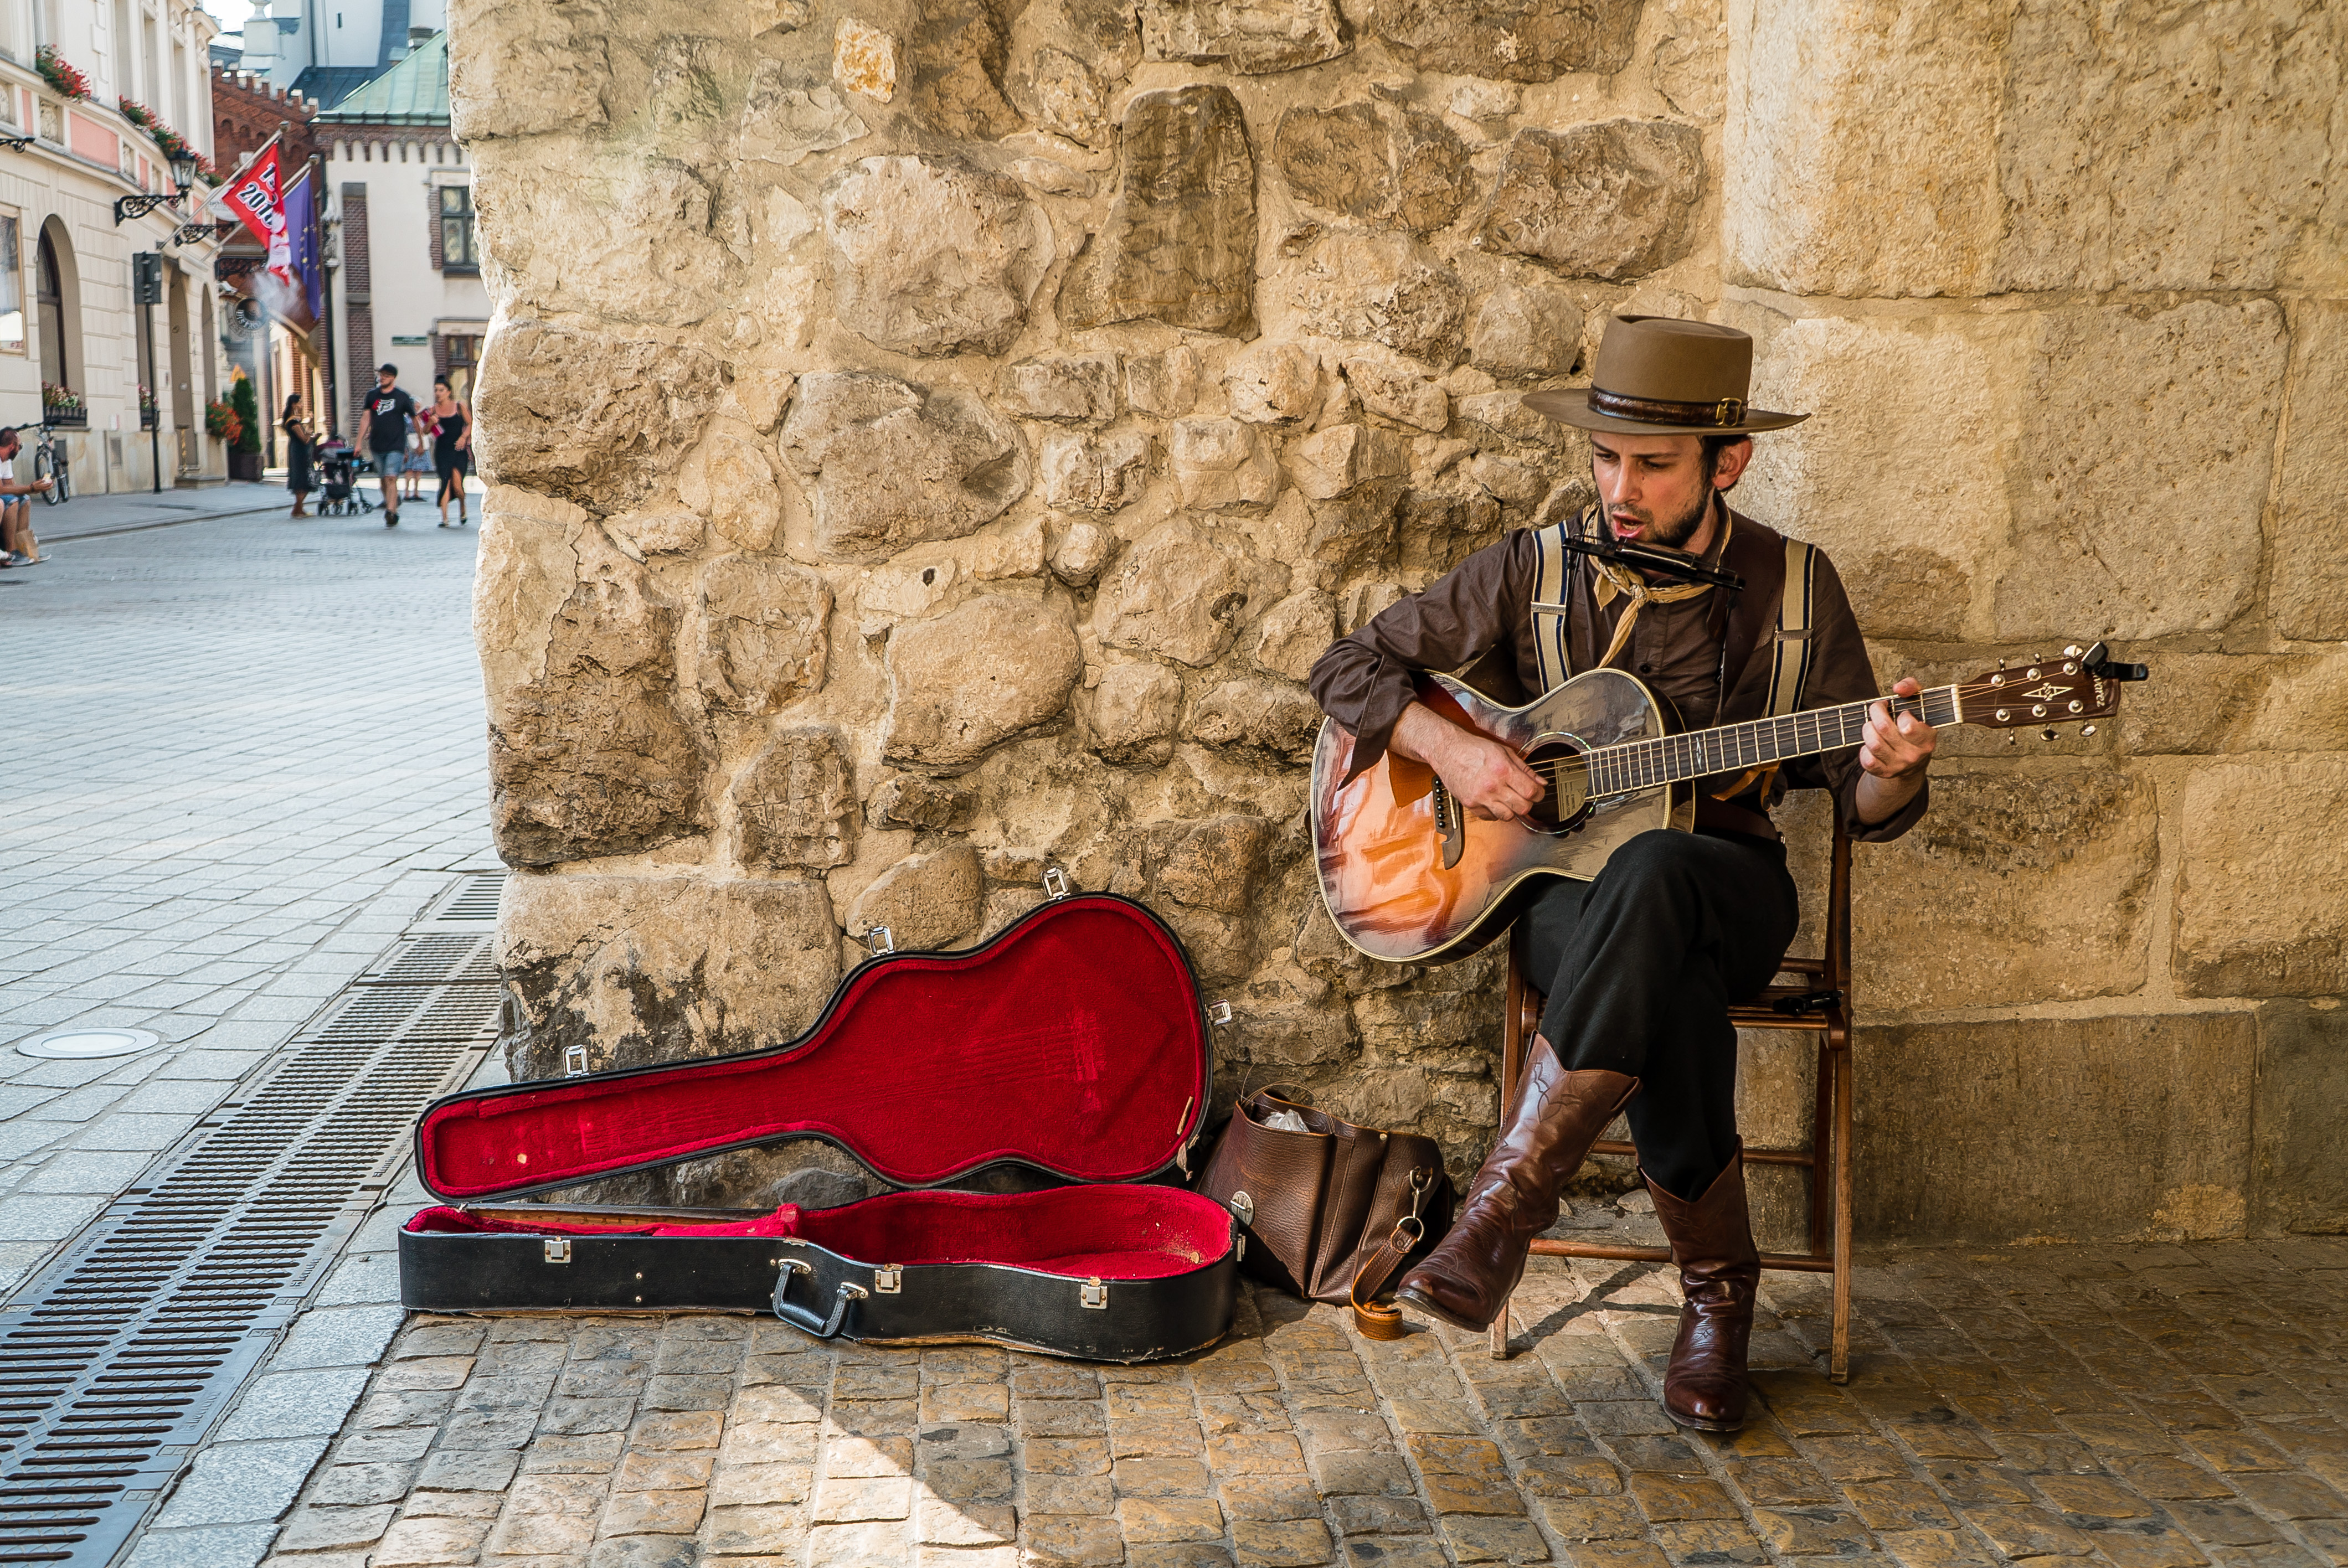
2. Patronize first. In regards to street musicians and vendors, always tip or purchase something. It doesn’t have to be anything big. Just a mutual show of appreciation goes a long way. Buying something from a food vendor is a great way to grab some candid shots of them preparing your dish.
3. Thank them if they say yes or no. There is no hard rule
4. Ask for a Selfie. Selfies are the ultimate icebreaker. I’ve never been denied a portrait after taking a selfie with someone. Being different has its advantages.
5. ALWAYS SMILE. I can’t street this point enough. Your smile is extremely disarming. Play the role of the happy and oblivious “tourist”. It’s disarming and can open up some opportunities.
PRACTICE TIP: Pick an interesting spot in your city. Visit that spot at three different times of
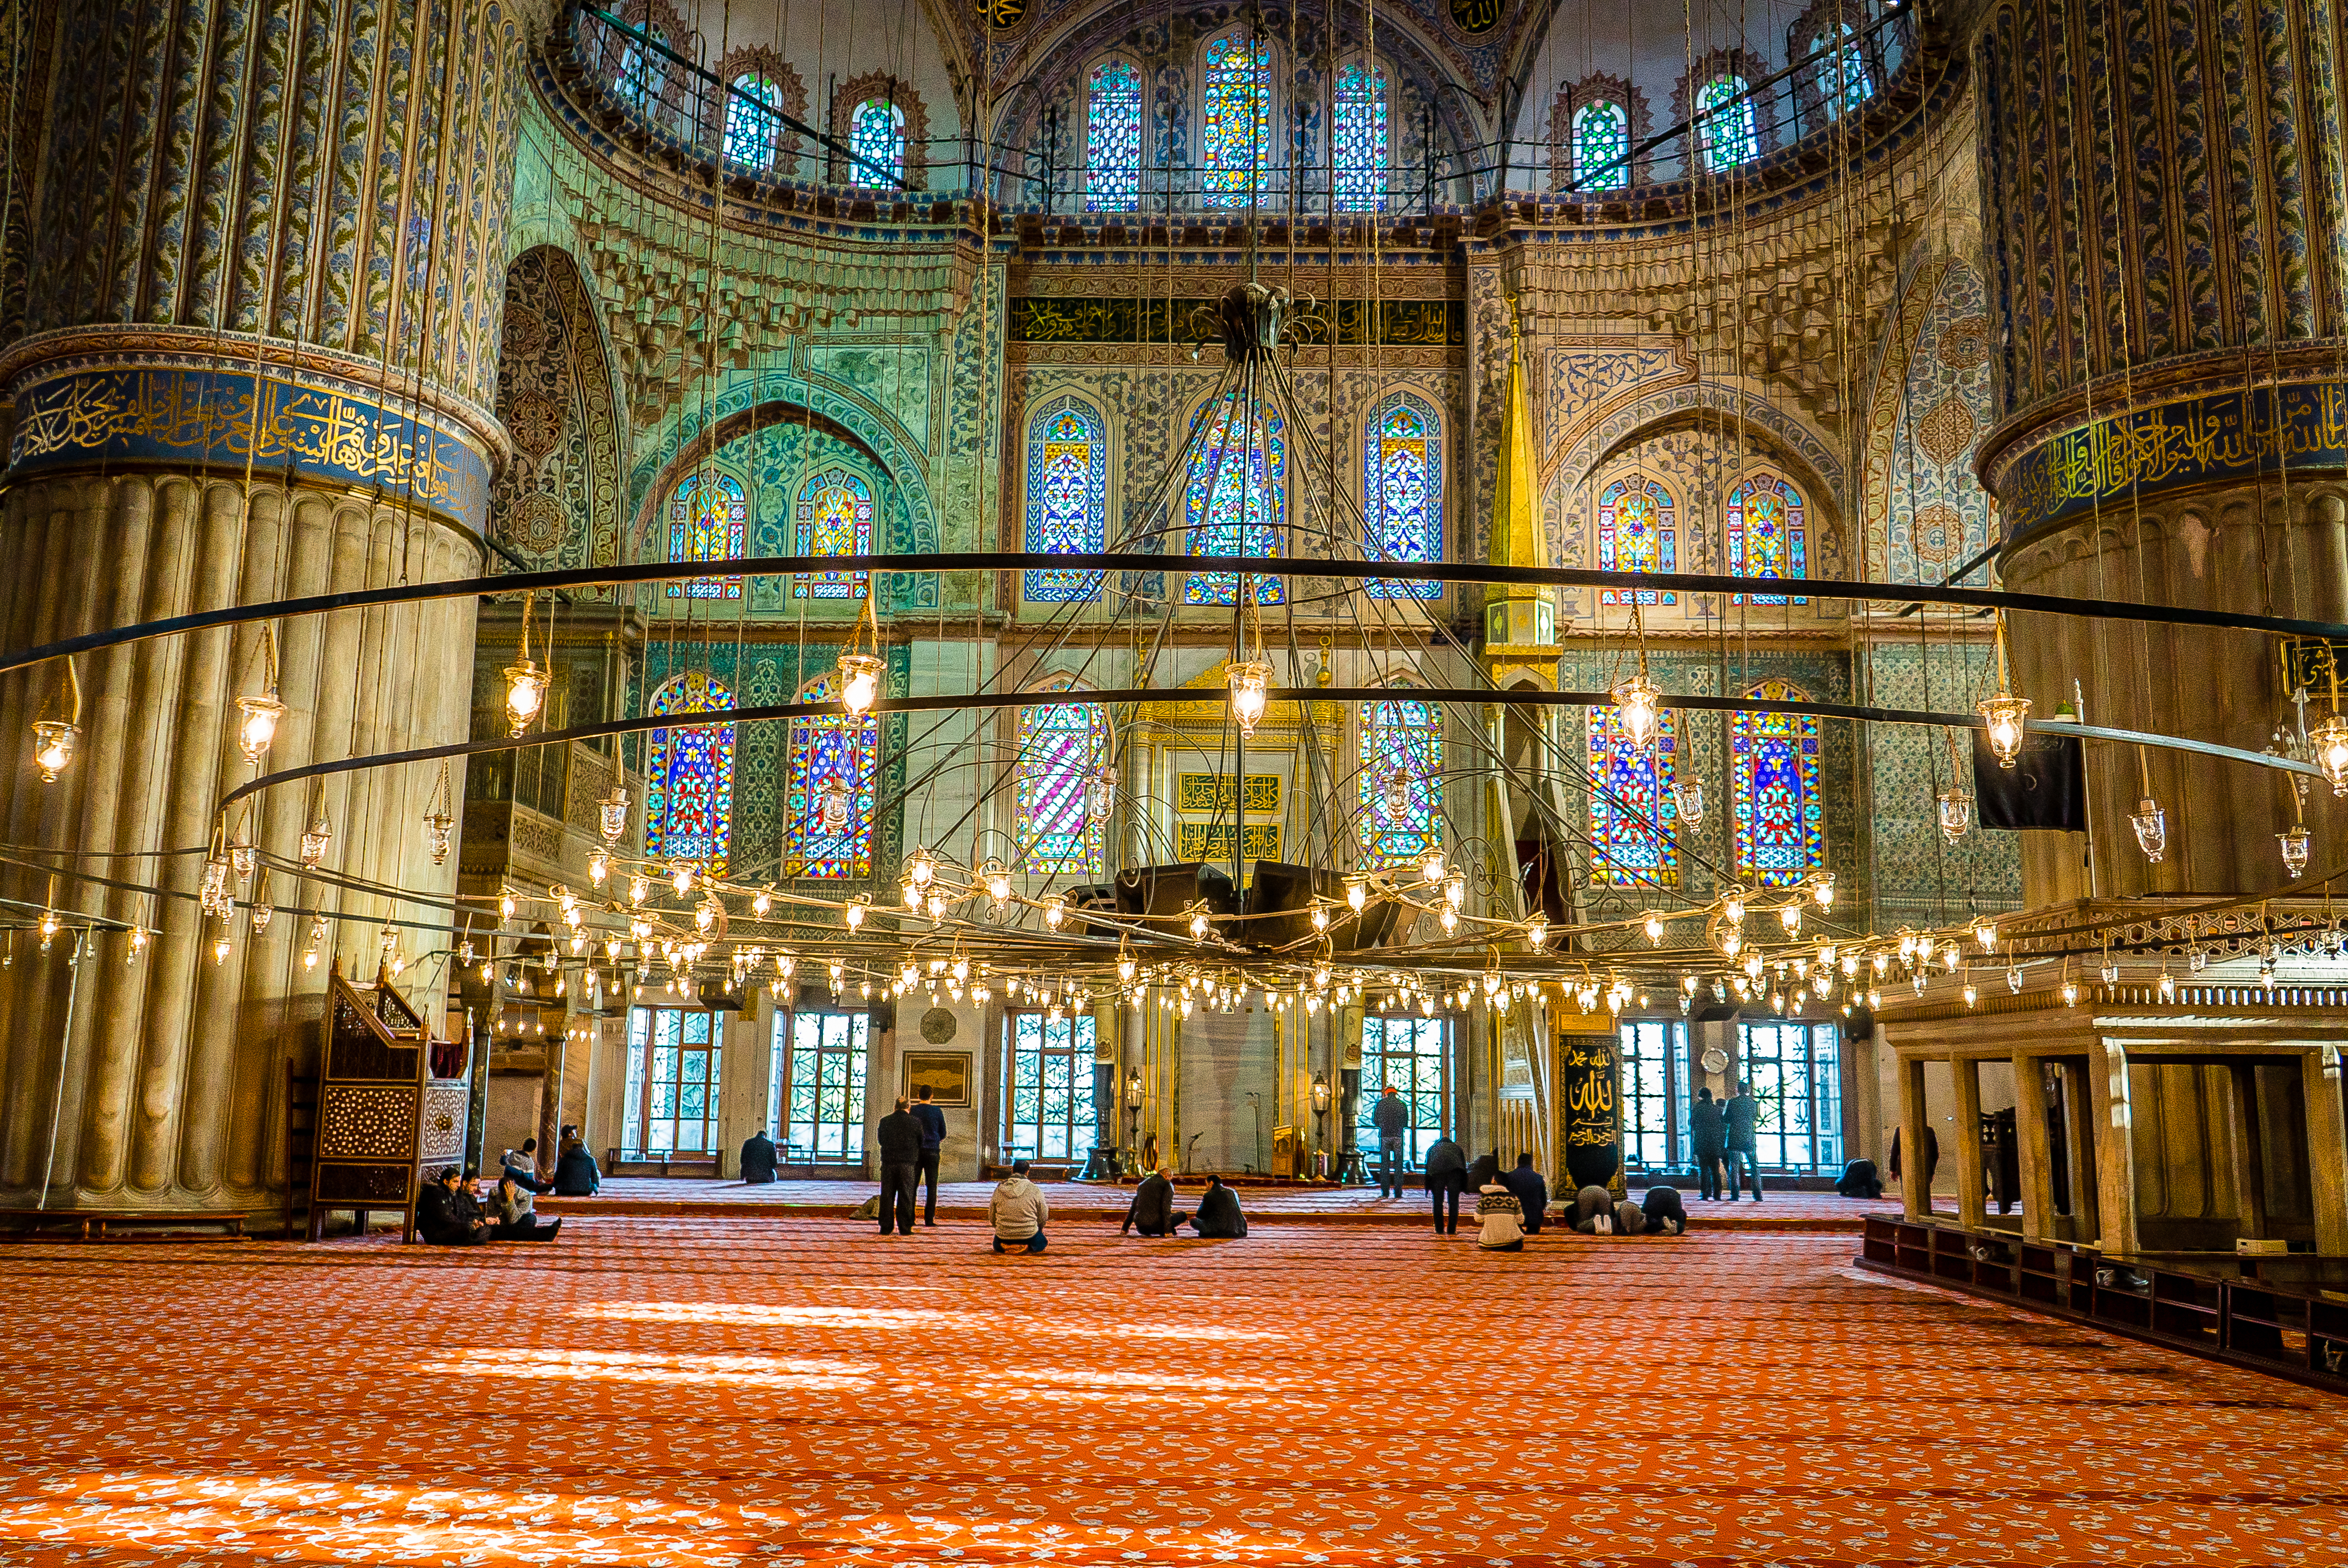
Composition Is King
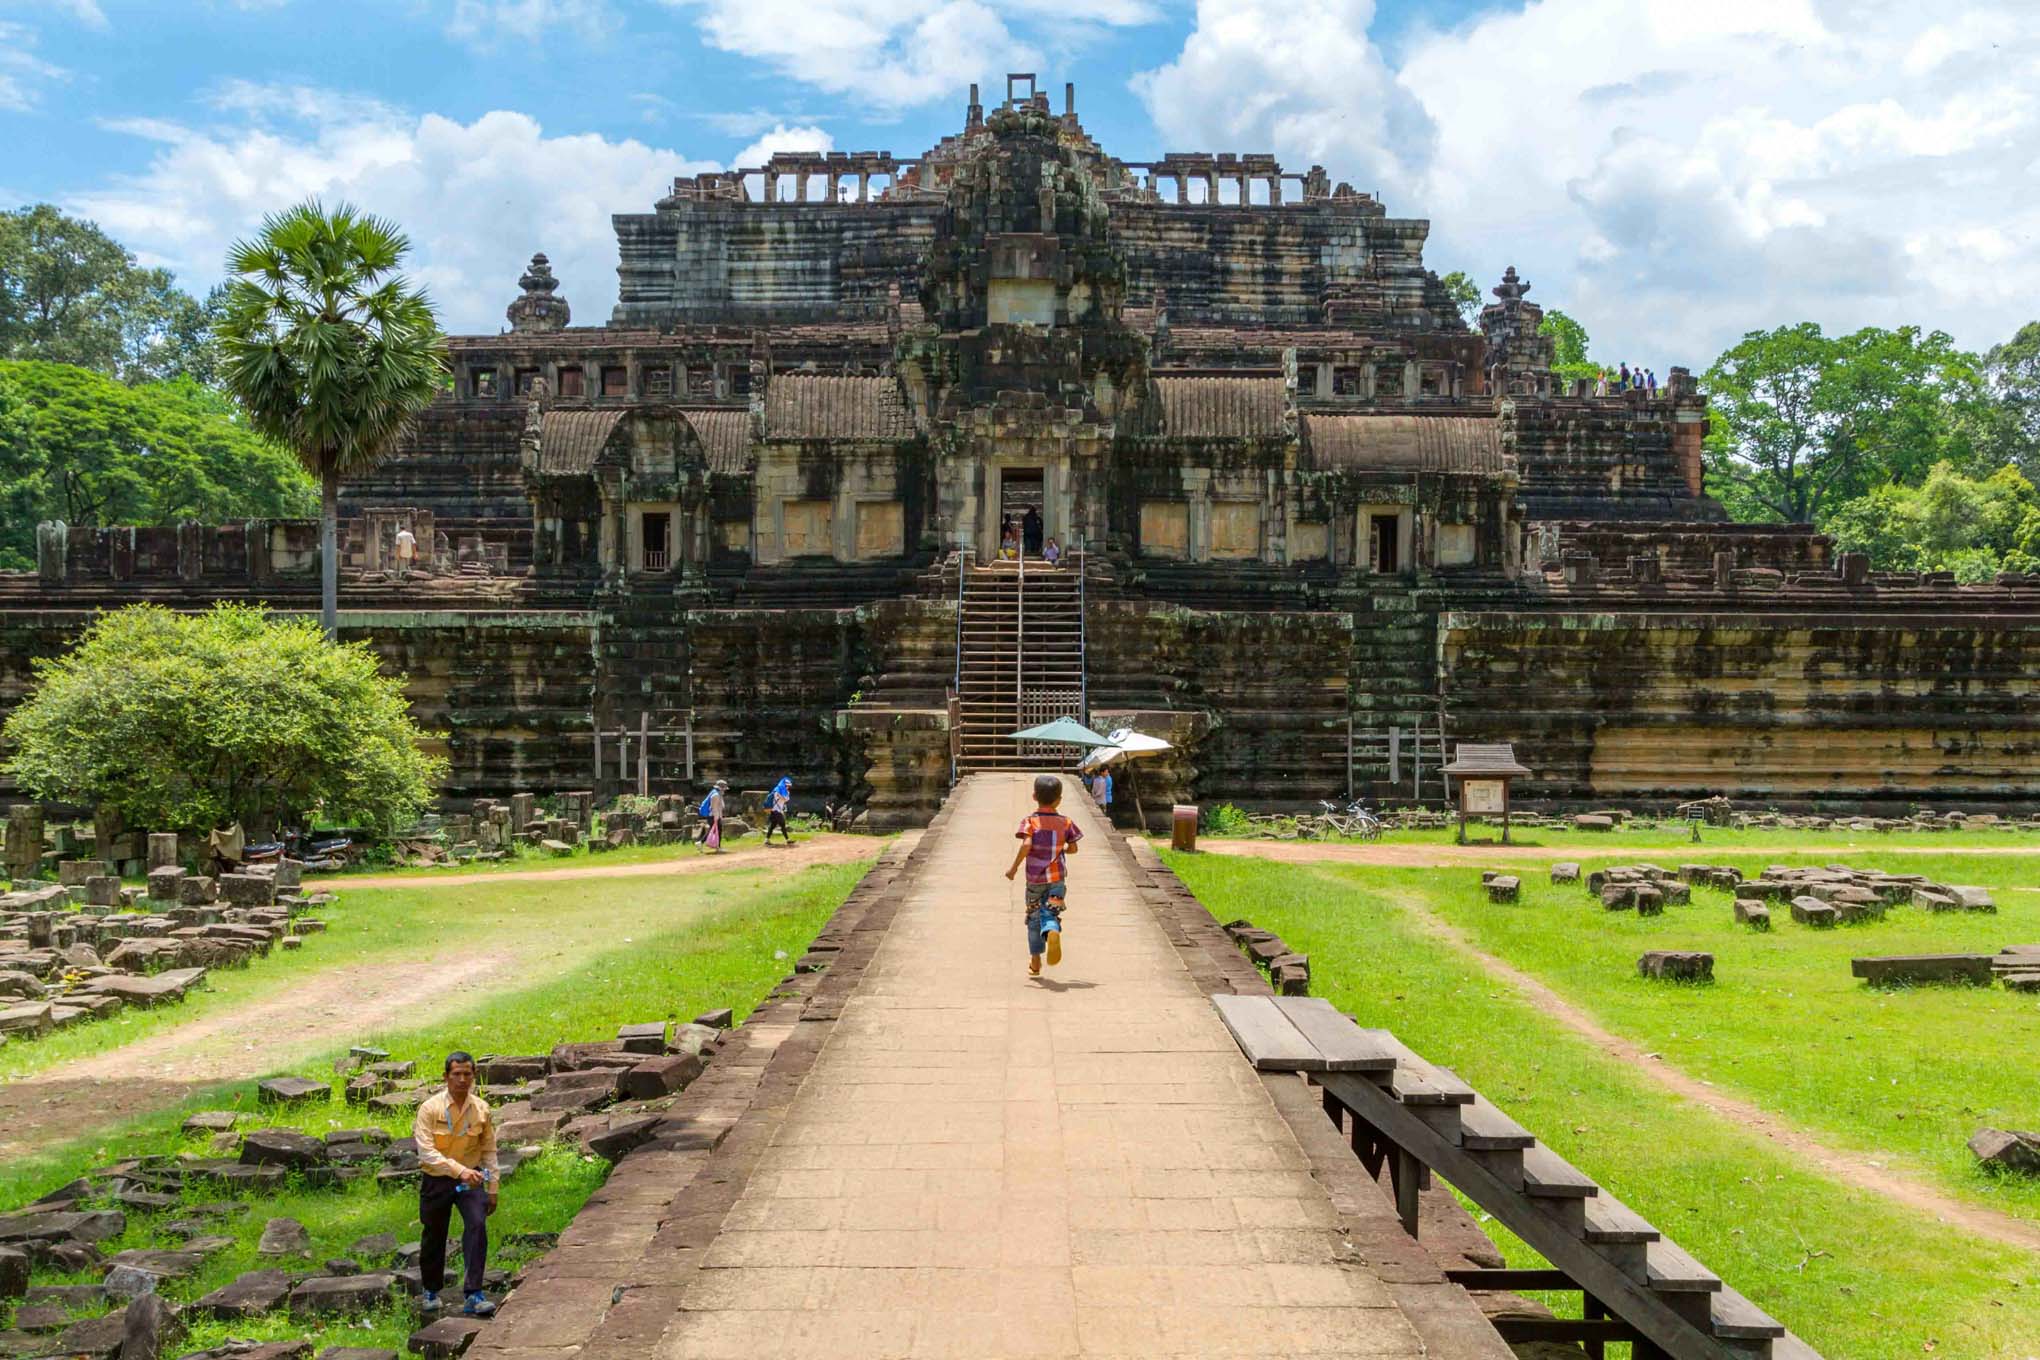
If there’s one thing you can do to instantly improve your photography it’s learning and mastering composition. Cameras and software have gotten extremely good at masking mistakes like exposure and focus. But no software can save bad composition.
As you develop your skills remember, you should learn the rules before you break them. The Rule of Thirds is the perfect place to start. Here are a few concepts you’re going to need to study.
1. Rule of Thirds (9 Block Grid)
2. Leading Lines (Lines that move eyes through an image).
3. Foreground and Background focus (Making elements of the foreground and background the focal point)
4. Filling the Frame (Entire image is filled with your subject)
5. Negative space. ( Empty space around your subject. Essential for those looking to post on Instagram)
These are just a few examples of composition rules/techniques. There have been entire books written on this subject alone. That should tell you how important it is.
PRACTICE TIP: Search Google images for shots of a popular building, market, or landmark in or near you. Now go and try to recreate that shot. Once you’ve recreated it try and put your own artistic spin on it.
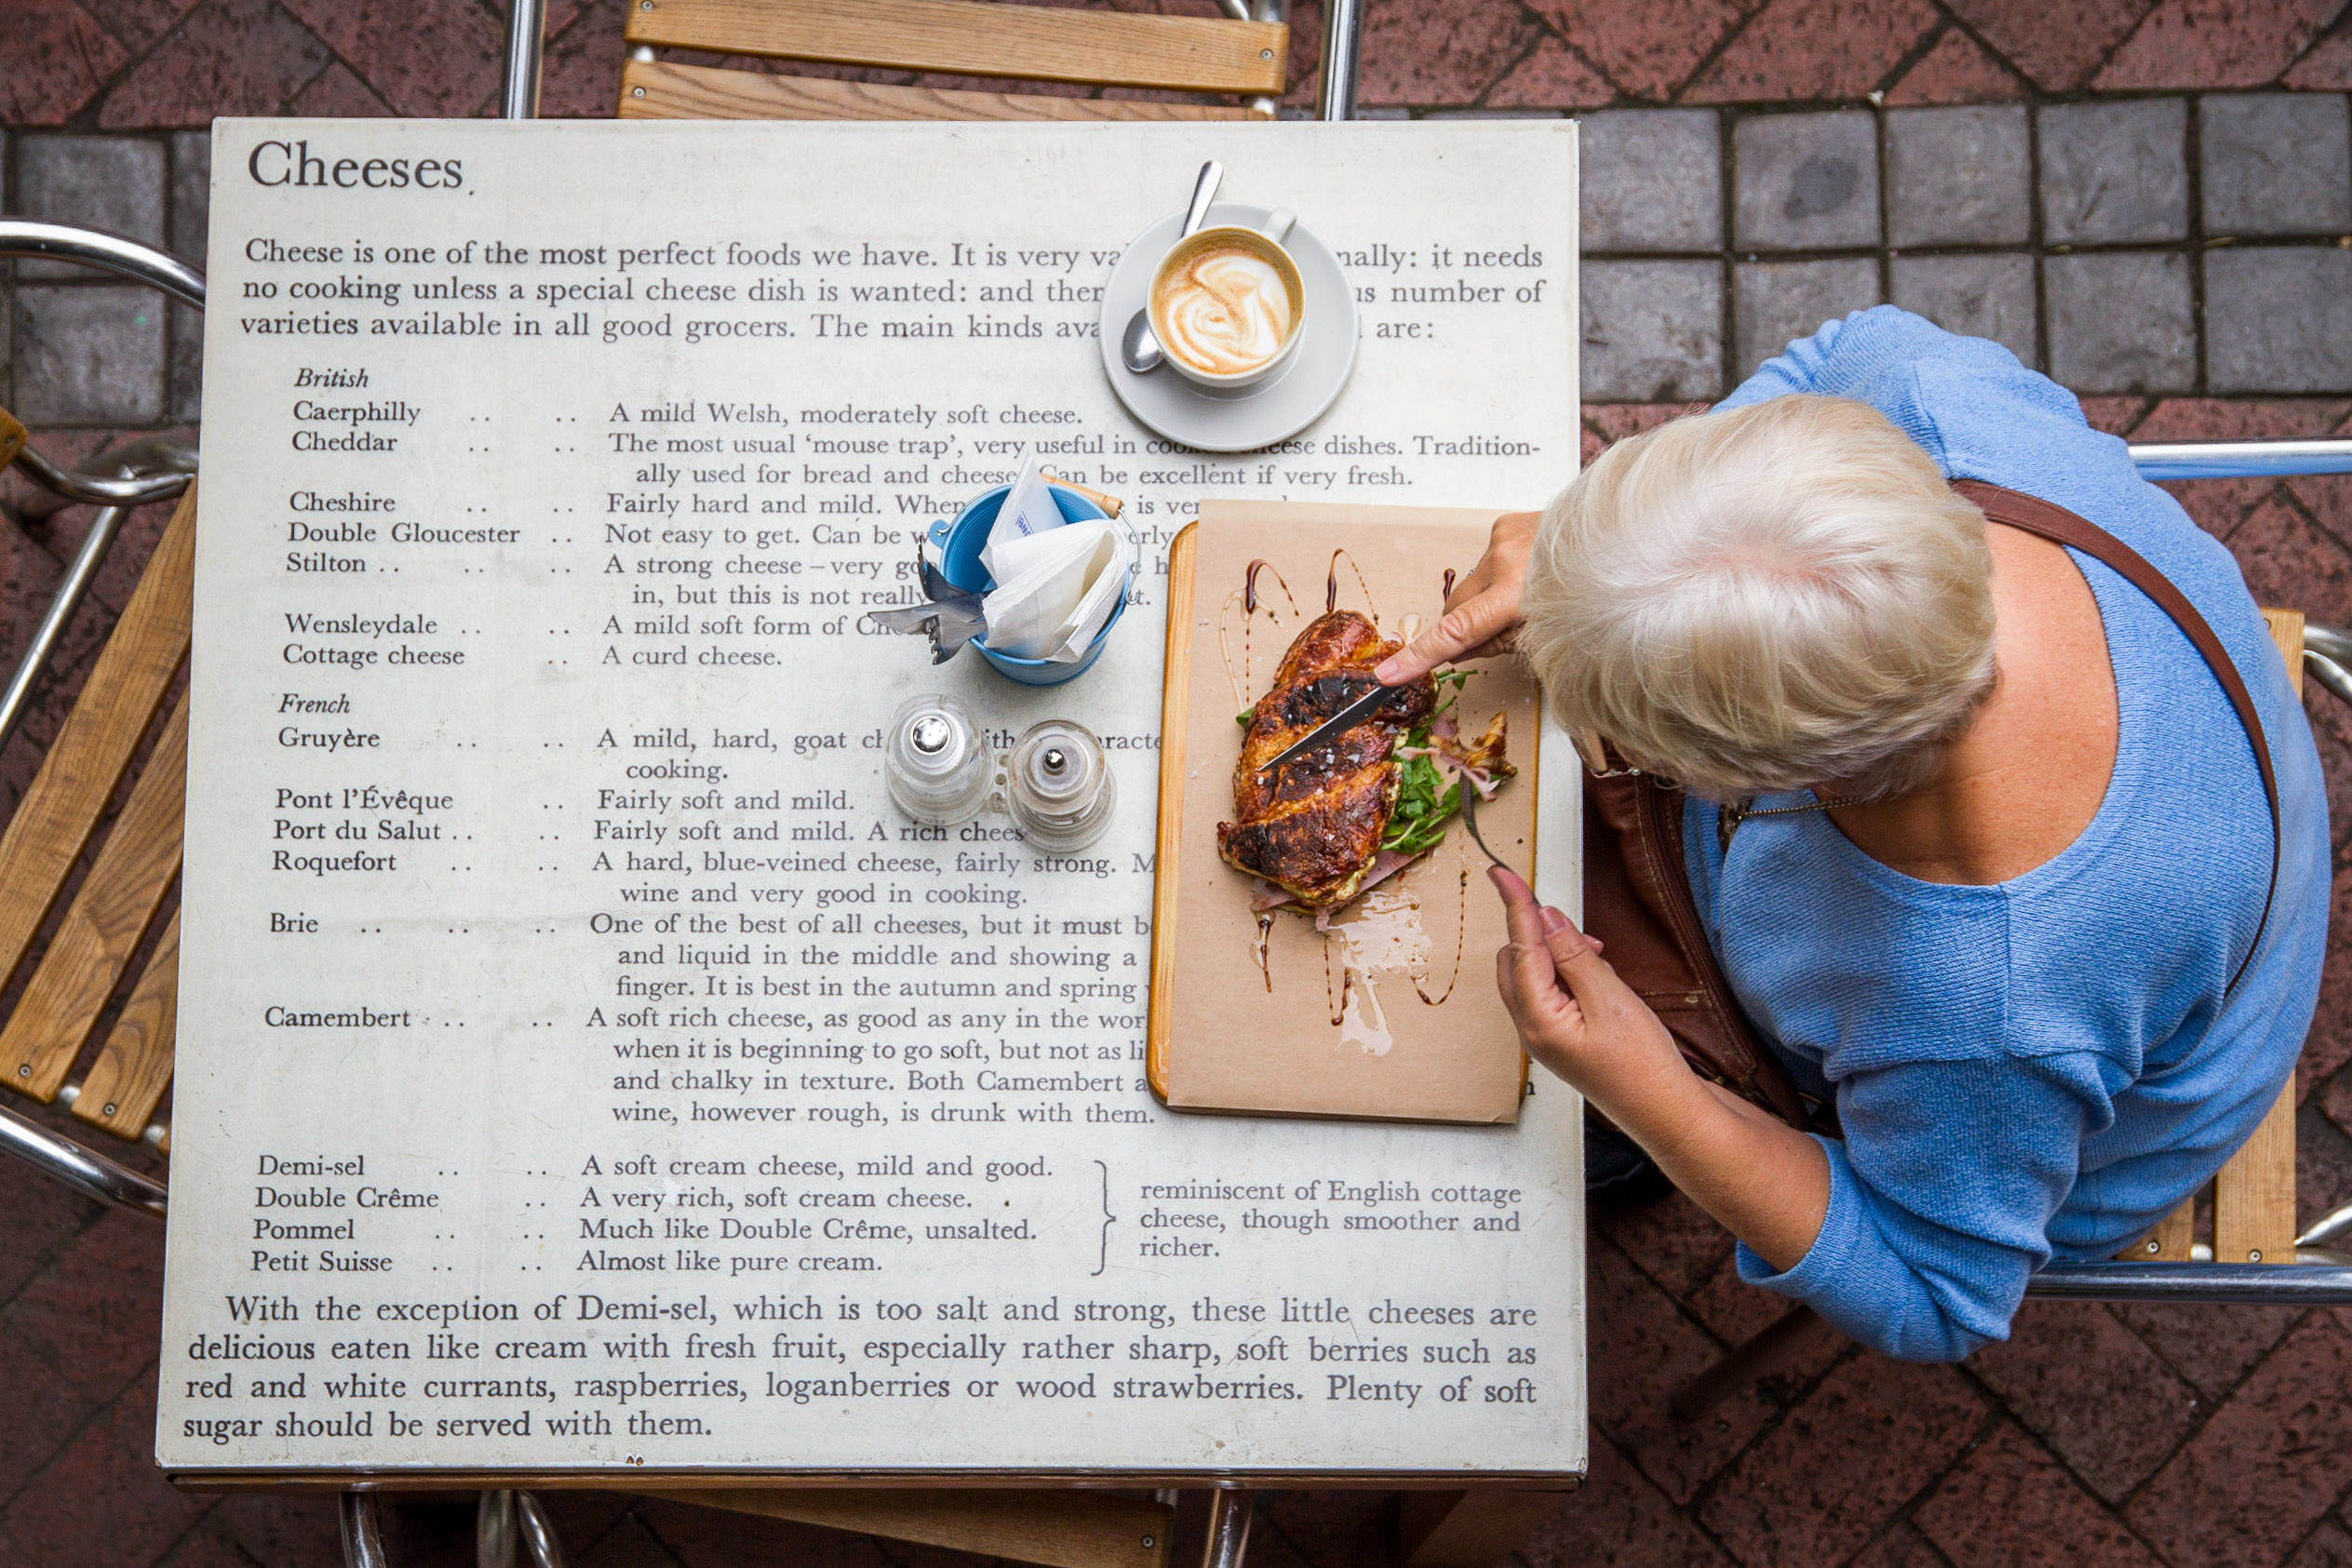
My Three Shot Strategy
As you grow as a photographer this strategy might become asinine and a hard drive space hog. But as you’re learning this technique can not only help you learn better composition but how images work in certain mediums. Not every image you shoot will crop well on Instagram for example. These are the three shots I take of pretty much every subject. Ensuring I can display them in different ways and capture various elements of focus. So when I’m putting together a photo essay or choosing for a campaign, I have options.
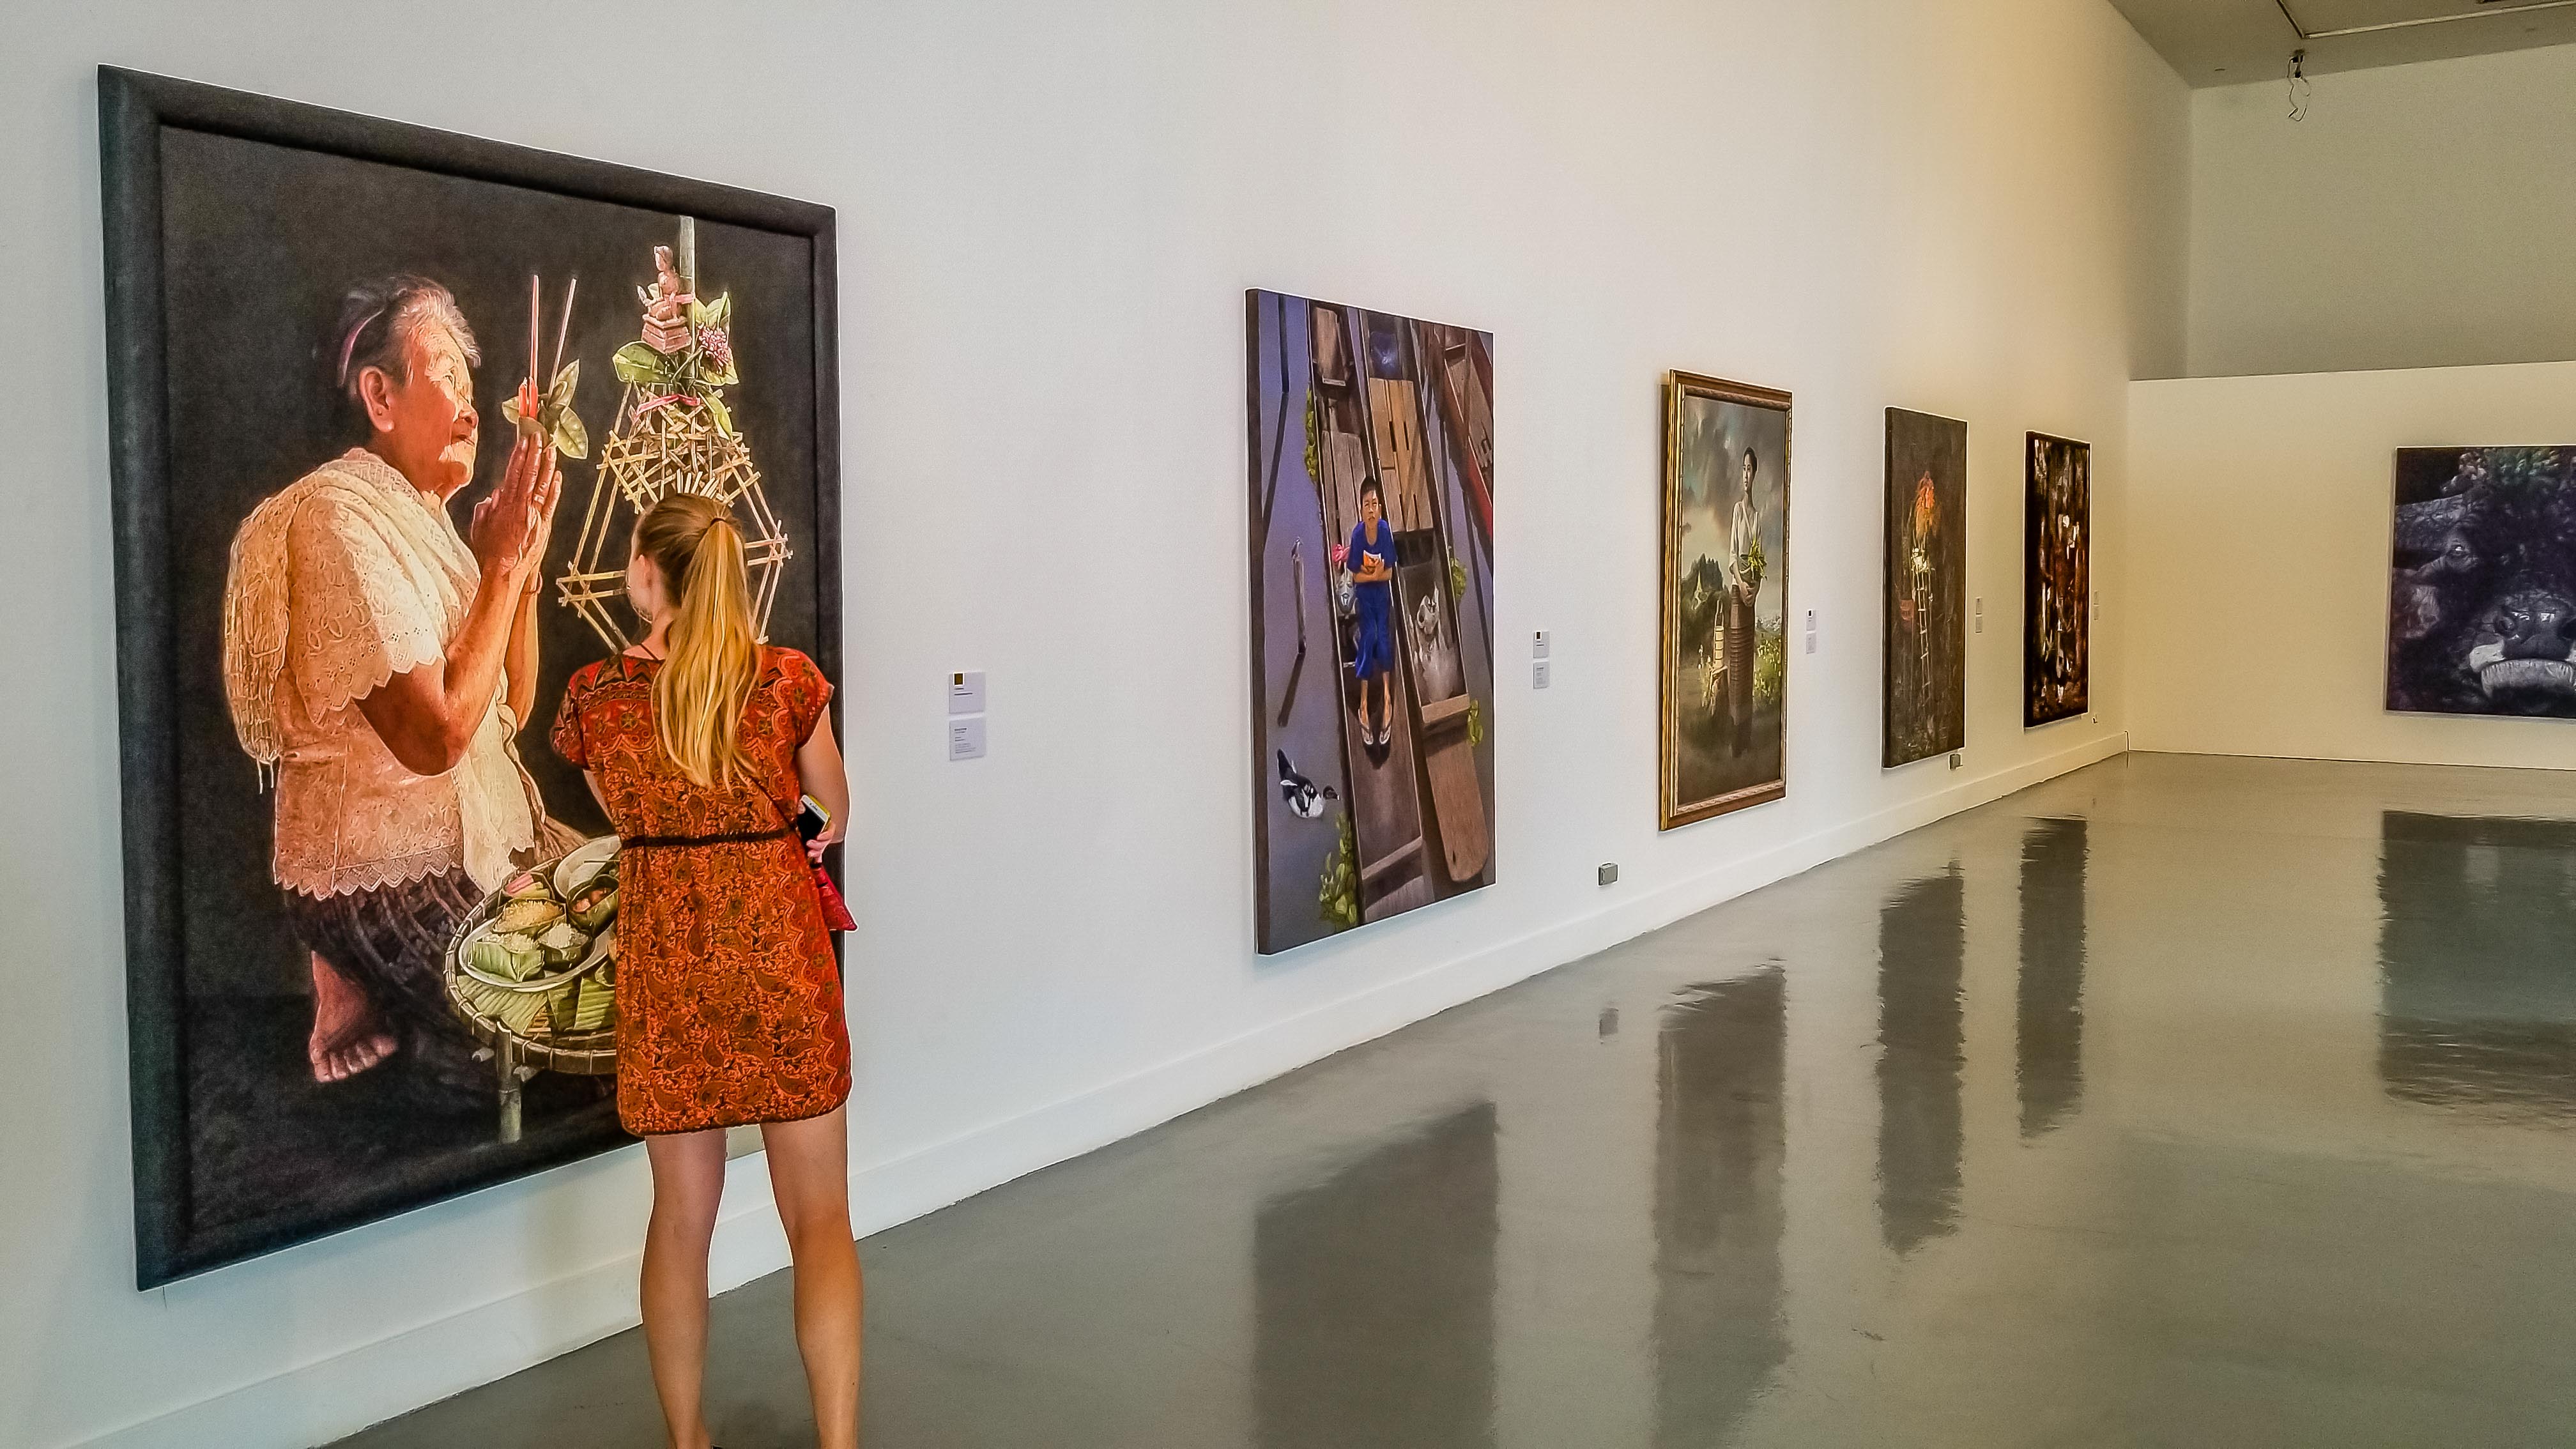
1.Your subjects environment. Where does it live? Here you capture the subject in it’s “natural habitat”. For buildings, this would be the skyline or up a boulevard. For people, this would be where they live, work, or play. For art, this would be a wide shot of the gallery for example.
2. Fill the frame. This is where you can highlight the details of the subject. One of the most common techniques in portraiture. Here you want to fill the entire image with the subject. Limiting the amount of negative space or distracting elements around it.
3. Scale/Personality. Here you want to highlight the size of your subject. This isn’t always necessary. For landmarks, architecture, and landscape photography you’ll want to do this more so than not. For people, not really. Humans are the perfect tools for scale because we can easily relate to them in relation to say a building. Cars also are great scale subjects. The human brain will automatically make the correlation.
PRACTICE TIP: Pretty simple. Go and get these three shots of a subject. Create your own photo essay. When I haven’t had a chance to go out and shoot for a while I’ll go to me “Idea List”. It’s 100 random words that I use to build an essay. Some words on the list include blue, pain, space, focus, and natural. Create your list and use these types of shots to build your essay.
Manual vs Auto
It’s baffling to me why experienced photographers constantly tell new and aspiring professionals to only shoot in manual. WE DON’T. I’ve met very few street photographers that only shoot in manual. Simply put, it’s a pain. Technology has evolved to a point where shooting in manual is actually a hindrance in many situations. Conditions change quickly and the time it takes for you to adjust your settings could mean the difference between getting the shot and not.
I shoot about 80% of the time in AV or aperture priority (A for Nikon). Basically, all you have to do is adjust your aperture and the camera does the rest. As time goes on you’ll learn when to adjust between shooting modes. And YES you need to know all of the shooting modes on your camera. But aperture priority will help you hit the ground running.
PRACTICE TIP: Put your camera on a tripod or sturdy surface. Take a photo at the lowest aperture. Then take it at the highest. And compare the images. You’ll instantly have an idea of what this setting does. Make sure to take note of the settings. Now do the same thing at night.
What’s the Best Gear?
The best gear is gear you know how to use. A $3000 camera is almost useless in the hands of someone that doesn’t know how to use it. While amazing images continue to be captured with decades-old technology. I’ve personally shot Canon, Nikon, and now Sony professionally. The differences are minor at the higher ends and come down largely to personal taste.
If you’re looking at making street photography your career then you’re going to want to look at future proofing yourself. Meaning most “mid-range” cameras that have interchangeable lenses should last you until you get to the point where your skills supersede your gear.
PRACTICE TIP: I’m the king of buying and selling. The most important piece of gear is your glass. AKA the Lens. The first thing you should invest in is glass. Depending on your camera system this can be expensive. For example, I shoot Sony. Glass is expensive and not very diverse. I used to shoot Canon. Glass is extremely affordable and diverse (I miss you so much Sigma). I recommend you rent your lenses first to find out your shooting style. Some will say 50mm is best for Street work. I hate shooting 50. I prefer 35mm in my prime and 24-105 as my zoom. But that’s after trying dozens of lenses over the years. I recommend LensRentals.com and BorrowLenses.com.
Learn How To Manual Focus
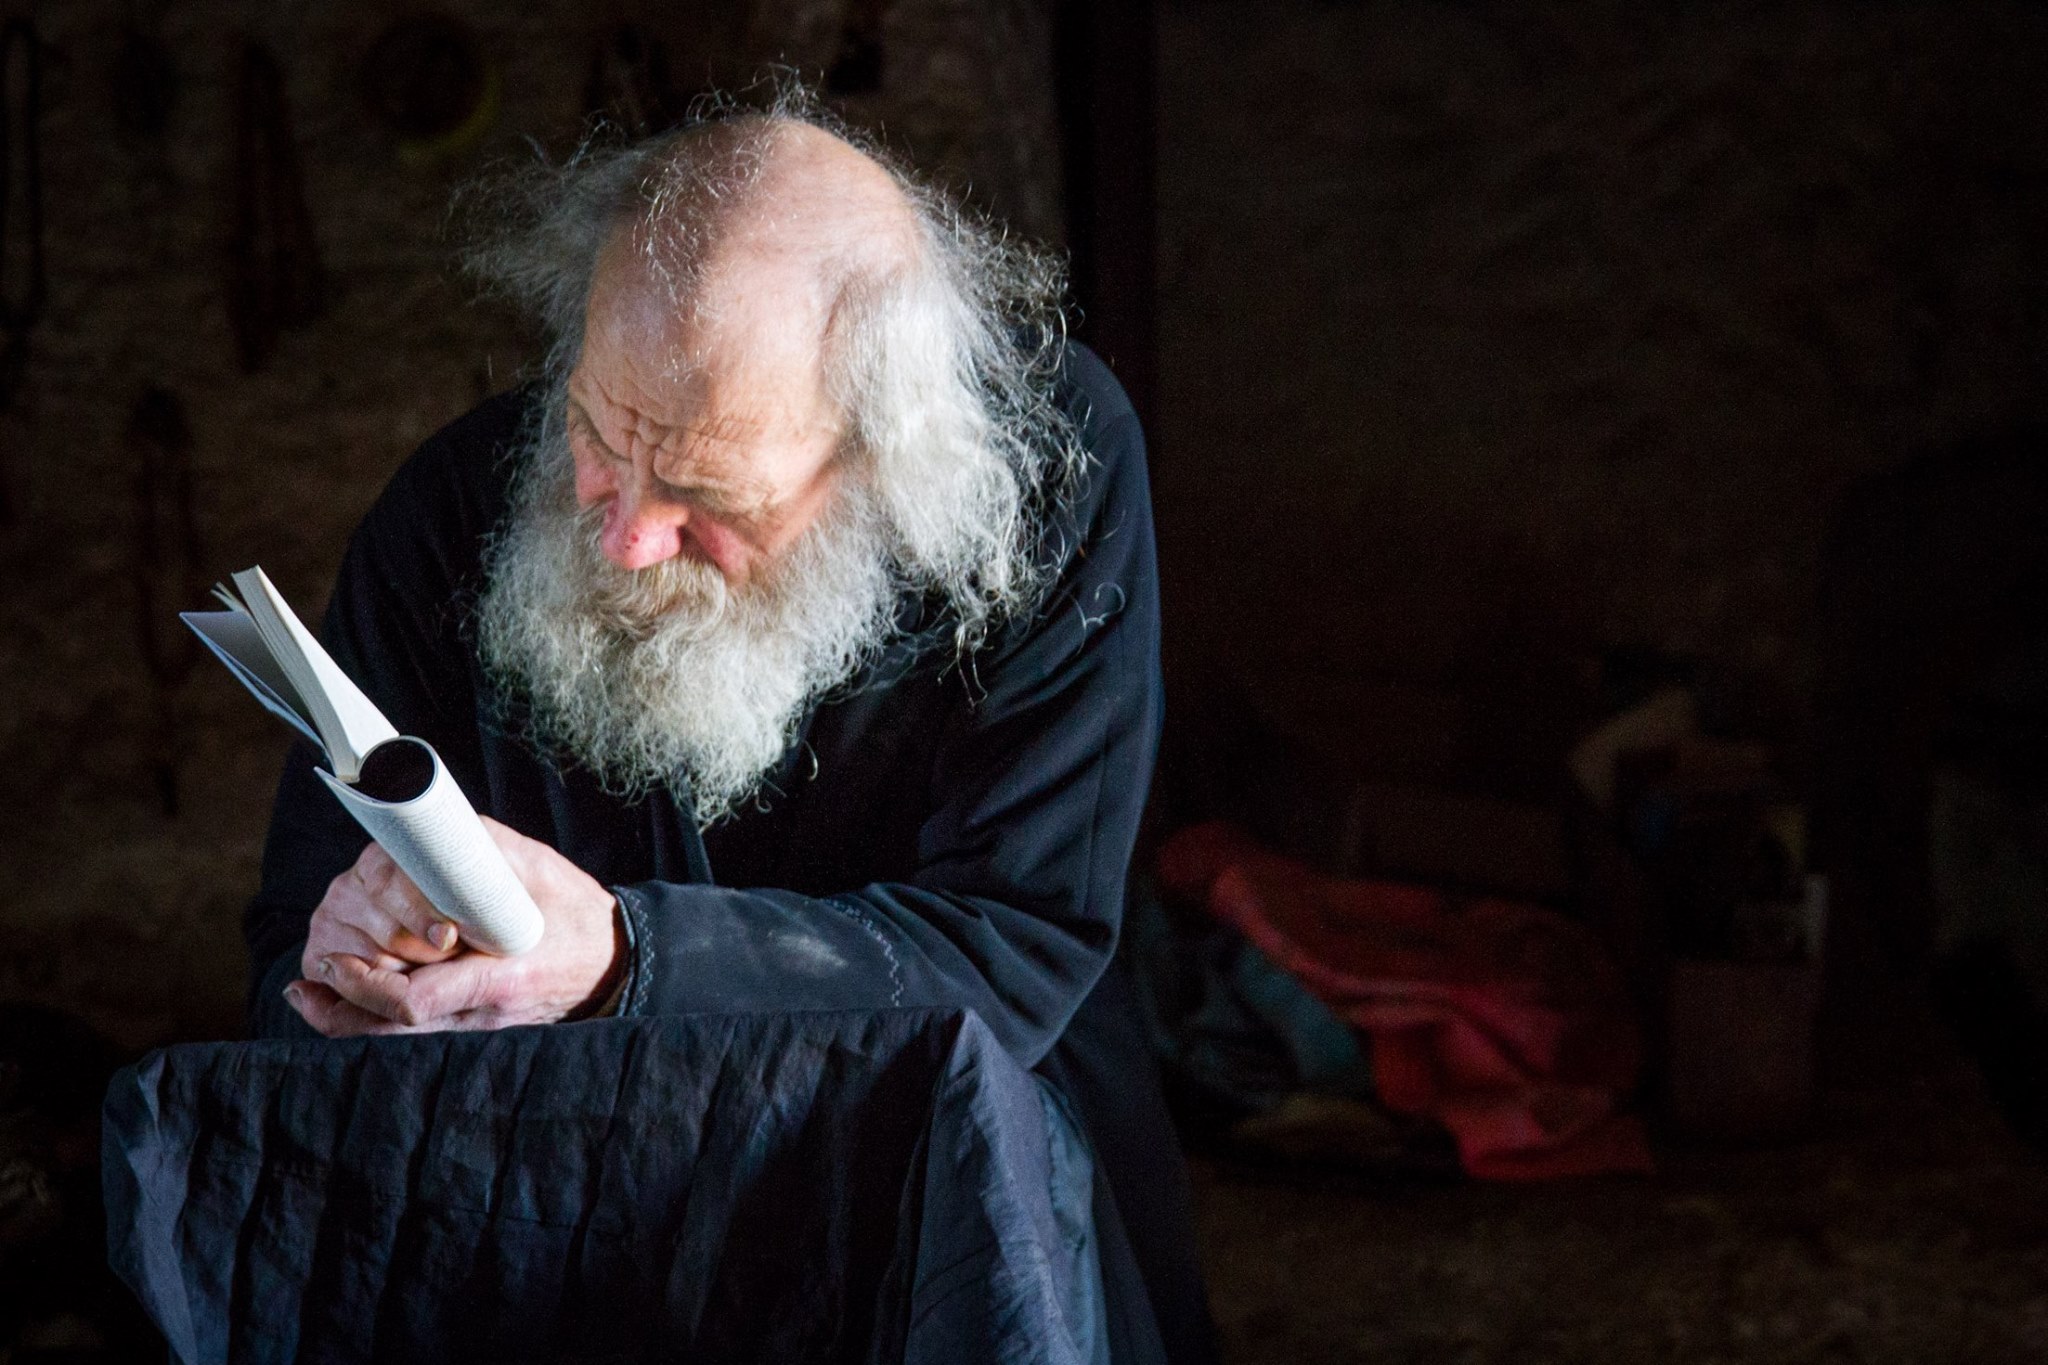
Orhei Vechi Monastery Moldova
While modern cameras have gotten damn good at autofocusing, sometimes it’s too good. Unless you tell it where to focus your camera will focus on what it thinks you want. So, in the beginning, you have to learn how to work with different camera focus settings. This is going to depend on your camera so I won’t go too deep into this one. But look up tutorials on Youtube that discuss your model. Also, pay attention to minimum focus distances of your lens.
PRACTICE TIP: Turn off autofocus and get out there and shoot. Not only will you gain a greater appreciation for AF, but you’ll have the skill to solve complicated focus issues before they happen in the field. Don’t get me started on low light focus problems.
Study And Learn From Other Photographers
My inspirations are Gordon Parks, Ansel Adams, and Steve McCurry. On the more modern side, I mess with Paola Franqui, Walter Rothwell, and Suzanne Stein.
If you’re going to make this art form your career you have to put the time in by studying the work of those who have already made it a career. Especially those who have left a lasting impression on the genre. Not only will this give you ideas when developing your style and subject matter, but it will also give you some idea on how to actually develop a career with longevity. In regards to the modern photographers you admire don’t be afraid to reach out. I can’t tell you how many impromptu photo walks and classes I’ve given just because someone reached out and showed some love. We’re all people.
PRACTICE TIP: Don’t only study the work of photographers in the style you like. Study those in other areas of photography as well. While I believe street photography is one of the most demanding and diverse genres, other genres have elements I love to observe and
Shoot Whatever and
Photographers are a judgemental and arrogant bunch at times. We tend to think our way is the best way and polarization is deep in the photography community. Don’t get me on the Nikon vs Canon vs Sony debates. This can be stifling to new photographers because you haven’t learned how to tune us out yet. Here’s the reality. If you ask 5 random street photographers to shoot NYC we all will come back with very different photo essays. Take criticism with a grain of salt. It can be hard but you’ll have to learn how to weed out the constructive criticism from the hater/elitist BS.
PRACTICE TIP: Follow your heart and shoot what you find interesting in the way you want. There’s always going to be someone that doesn’t like what you do. Focus on the voices offering constructive criticism and showing love.
How To Create A Photo Essay
Pick 5 things that make that place special. My Austin Texas list would be something like Food, Music, People, Architecture, River. Then break each of those things down into 3 things you can shoot. For example, in Food, you can shoot food trucks, famous BBQ places, and fine dining. While you’re unlikely to capture all of the things you have on your list it’s a good outline for any photo essay. You have 15 different subjects to shoot. That’ll keep you more than busy.
Also, location scout if possible. I can’t stress the importance of knowing where the lighting is, how crowds move, and simple when things start or stop. Location scouting can really make or break an assignment. Especially when you’re on limited time.
PRACTICE TIP: Create several photo essays close to home. This will give you an idea of how this list technique works and your personal energy and focus level. Travel/Street photography is HARD. Mentally and physically. And you have to prepare for it like any other job. Things will go wrong. You might get hurt. Gear might break. But through practice, you can mitigate these things and overcome them when they do arise.
Have a Photography Code Of Conduct
There’s no barrier to entry in photography. Especially in today’s world with high-quality camera gear that’s affordable, a culture starved for photography, and ample travel opportunities. But what comes with this openness are the pitfalls of privilege. The disregard for the human condition and a sense of privacy. I’m not going to tell you what to do and not. I’m going to invite you to think about your action and develop a personal code of conduct. 5 things you keep in mind at all times when shooting.
1. Never shoot children without the parent’s permission or showing them the images.
2. Always patronize homeless people and vendors you shoot.
3. Never invade someones personal space when they have a reasonable expectation of privacy like in their homes.
4. Take no for an answer. If they say no, smile, thank them, and leave.
5. Never sell images when the person is identifiable without their permission.
PRACTICE TIP: Start with something simple. This is something I wouldn’t want people doing to me or my family. From there branch off to the areas of legality. Then go into the realm of creative expression. This is entirely subjective but a solid place to start.
Gordon Parks said, “The subject matter is much more important than the photographer”. As a photographer, I’m stuck between two generations. I grew up in a darkroom processing images. Shooting on 35mm film. Smelling chemicals and having my heartbroken discovering I overexposed the perfectly composed shot. I’m also a product of the digital age. The days of 64gb memory cards and burst shooting. Built-in light meters and grids. Of the “follow me” and curated color palettes of Instagram. And it’s coming from these two worlds that give me my perspective on photography.
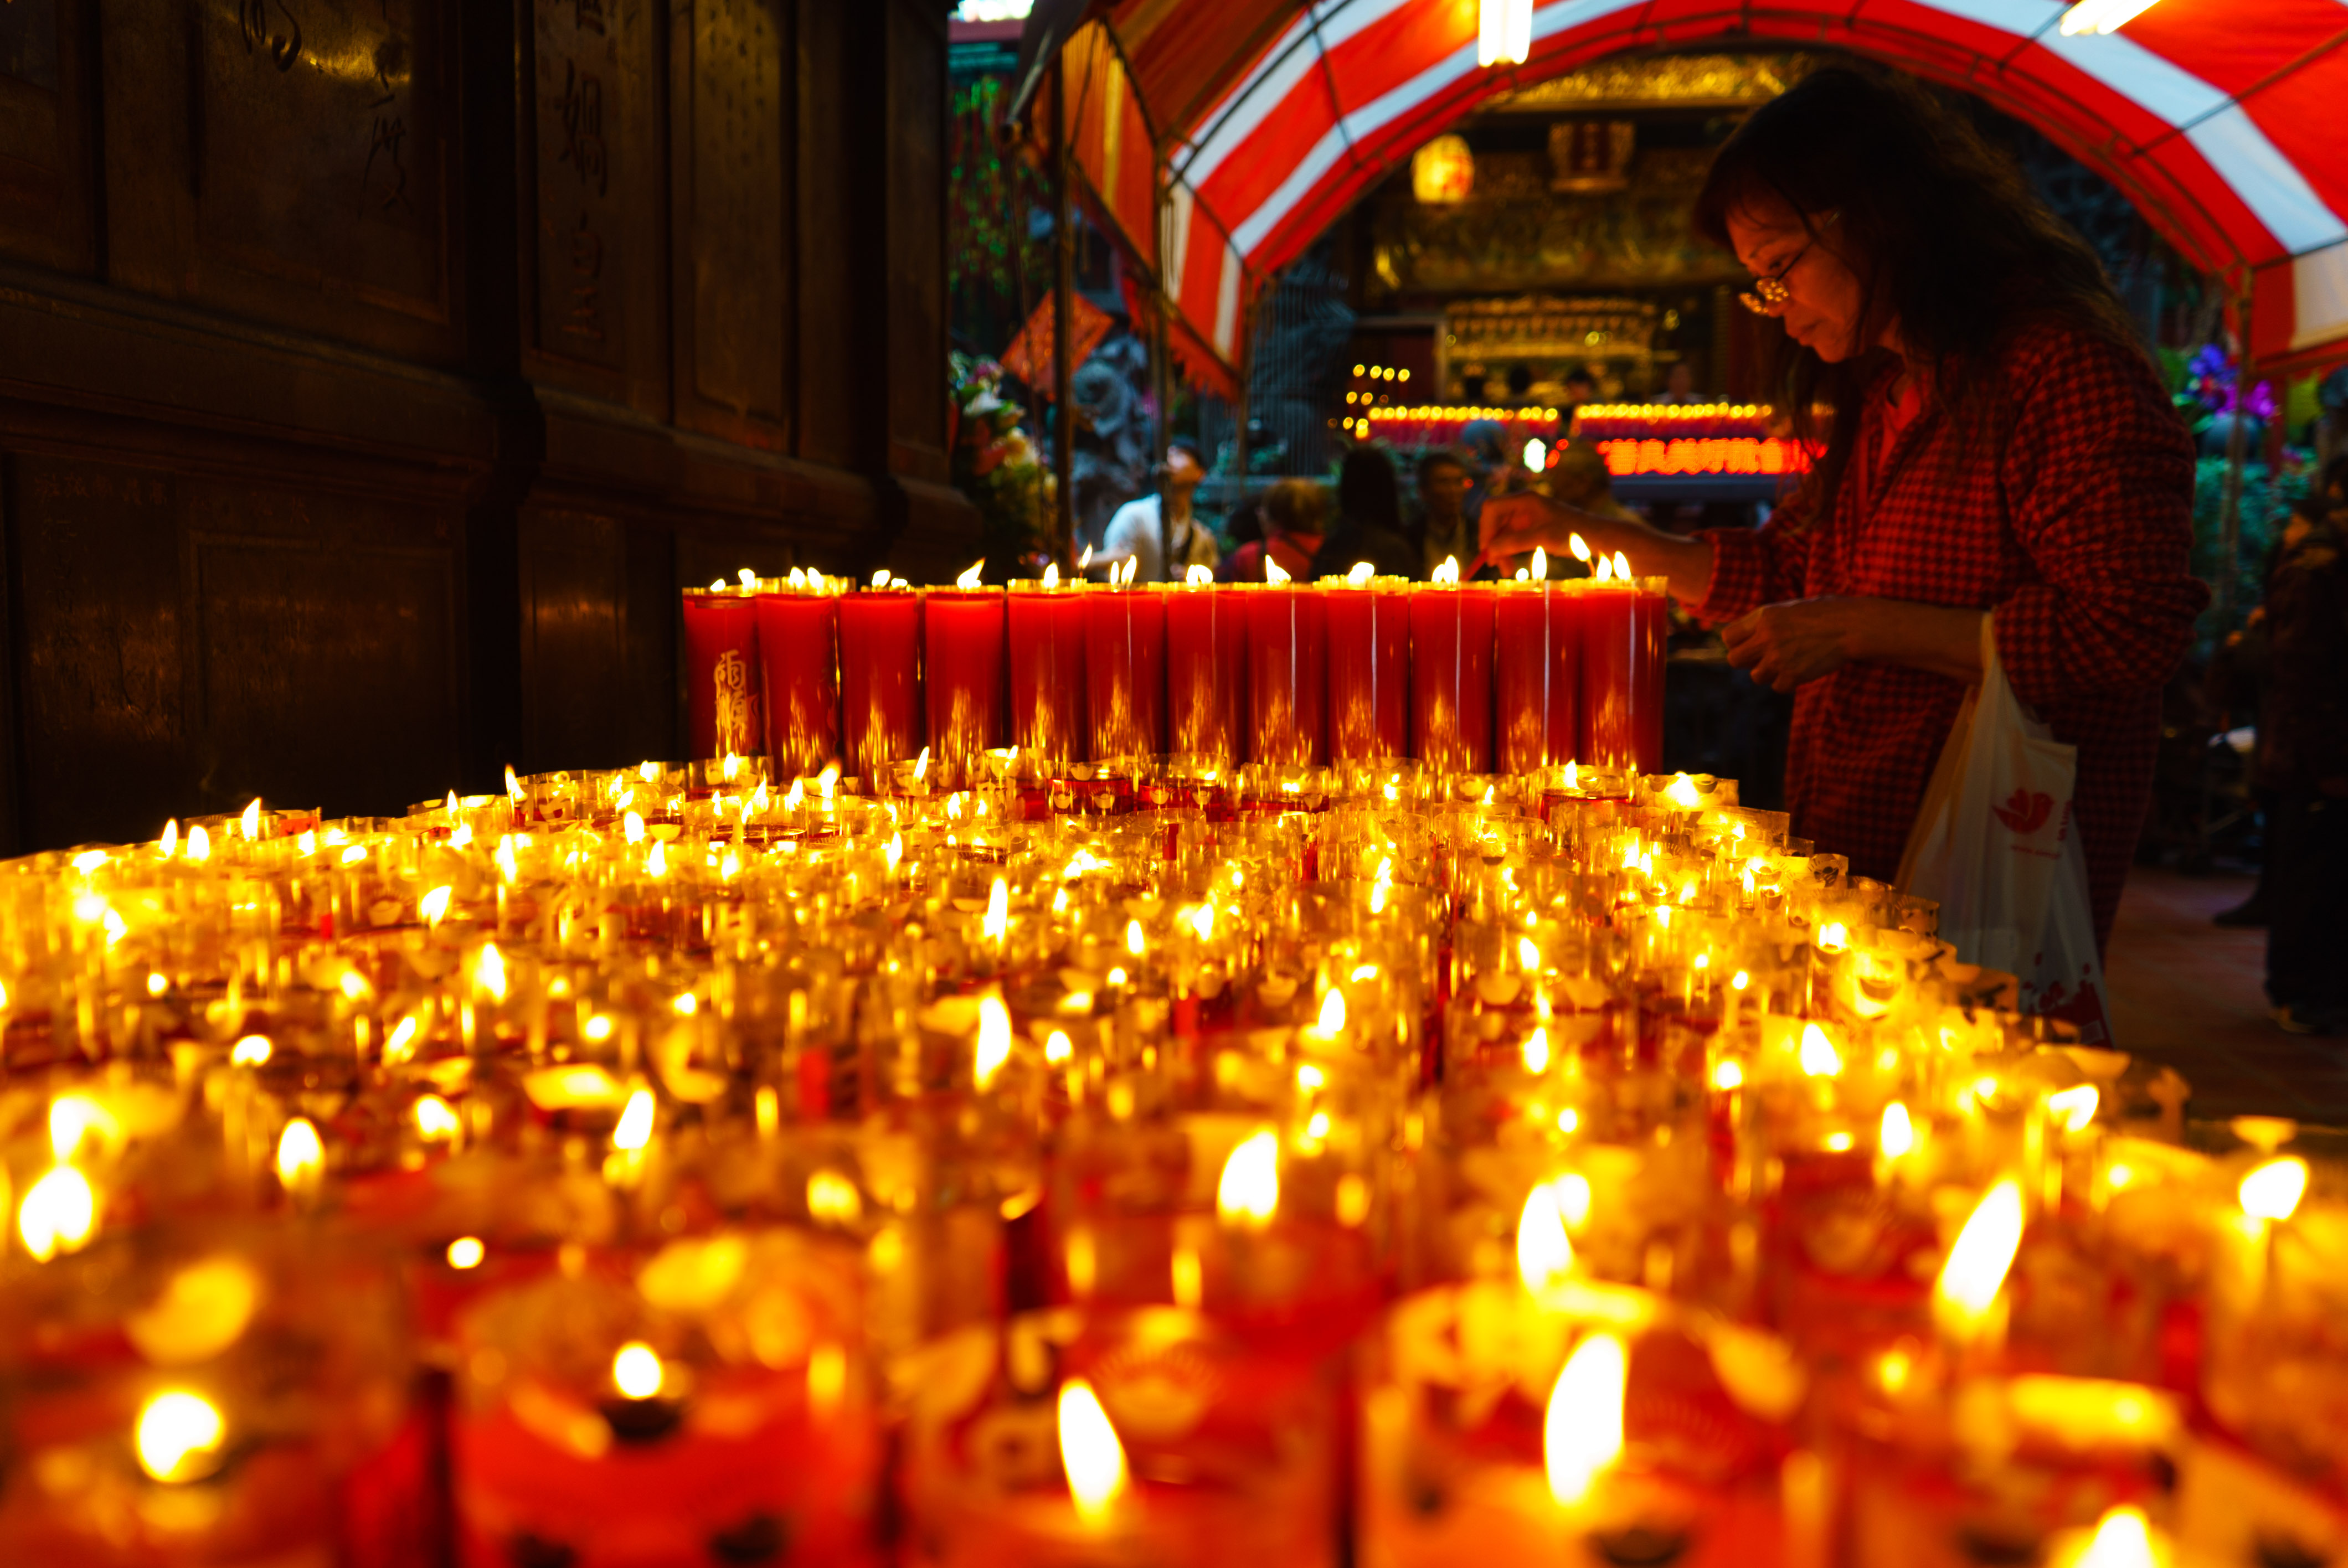
We all have a story to tell. In your work, you get to decide what that story is. From the beauty of the Thai Islands to the pain of Skid Row Los Angeles, the world needs diverse perspectives. Let’s give it to them.
RESOURCES
Note on these resources. This is NOT meant to be a complete listing. I have hundreds upon hundreds of sites, videos, articles, books, and courses I’ve gone through over the years. Many I still refer back to. The key is ALWAYS continue learning. Trying new techniques and styles. These are some recommendations to get your started on your journey.
Others Photographers to Check Out (Including those linked above)
Lola Akinmade
Gary Arndt
Peter McKinnon
Ami Vitale
Micah Albert
Joel Santos
Adrienne Pitts
Ken Kaminesky
İlhan Eroğlu
YouTube Tutorials
https://youtu.be/2Ums5UwsVa0
https://youtu.be/ixRKeQMa7Nc
https://bit.ly/2OVAmPs
https://bit.ly/2Ay4Pdl
https://bit.ly/2Rm2rvM
https://youtu.be/-X7_SmT1yi4
https://www.youtube.com/watch?v=bdgiXPI-DZk
https://www.youtube.com/watch?v=tovy7hpnA7k
Books to Read
The Photographers Eye by Michael Freeman
Gordon Parks: Collected Works
Bystander: A History of Street Photography
by Colin Westerbeck and Joel Meyerowitz
Understanding Exposure, Fourth Edition: How to Shoot Great Photographs with Any Camera by Bryan Peterson
This lists some great Travel Photography books.
Sites To Check Out
https://roadsandkingdoms.com/series/photoessays/
https://fstoppers.com/
https://petapixel.com/
http://snapsort.com/compare
https://www.lensculture.com/
https://kelbyone.com/
https://www.magnumphotos.com/
http://photocontestguru.com/
https://digital-photography-school.com/


