
People make the place. No matter how beautiful the landscapes or wonderful the food, the people are what truly makes a destination. And capturing their lives has long been an integral part of any travelers photography goals. But what’s the best way to capture those beautiful travel portraits we see in magazines and on postcards. Well, I’m here to tell you, it’s not easy. But with a bit of planning and patience you just might capture an image that stands the test of time.
Too often people focus only on the gear they use. Capturing great travel portraits is a combination of technique, gear, and patience. Here are a few tips to get you started.
Ask For Permission

This can be scary and daunting. Given the language and cultural barriers, you may feel overwhelmed asking to take someone’s picture. In general, people don’t enjoy cameras thrown in their faces by strangers. Even for those working in the tourism industry, it can be uncomfortable. Imagine you’re at work, and a group of people runs up and start snapping pictures of you. If someone tells you no then don’t take the picture. A photograph isn’t worth upsetting the locals. Not only for you but everyone that comes later.
TIP: The universal request, lift your camera and smile while pointing to it.
Don’t Ask Permission

While I fully advocate asking permission, some images are best captured with subjects unawares. Use a telephoto lens to push in and frame the shot. This is a tricky area for professional and amateur photographers alike. My take, use your best judgment and be as respectful as possible.
TIP: Make sure you’re at a good distance or obstructed by a group or object. These candid travel portraits should be shot stealthly to preserve the moment.
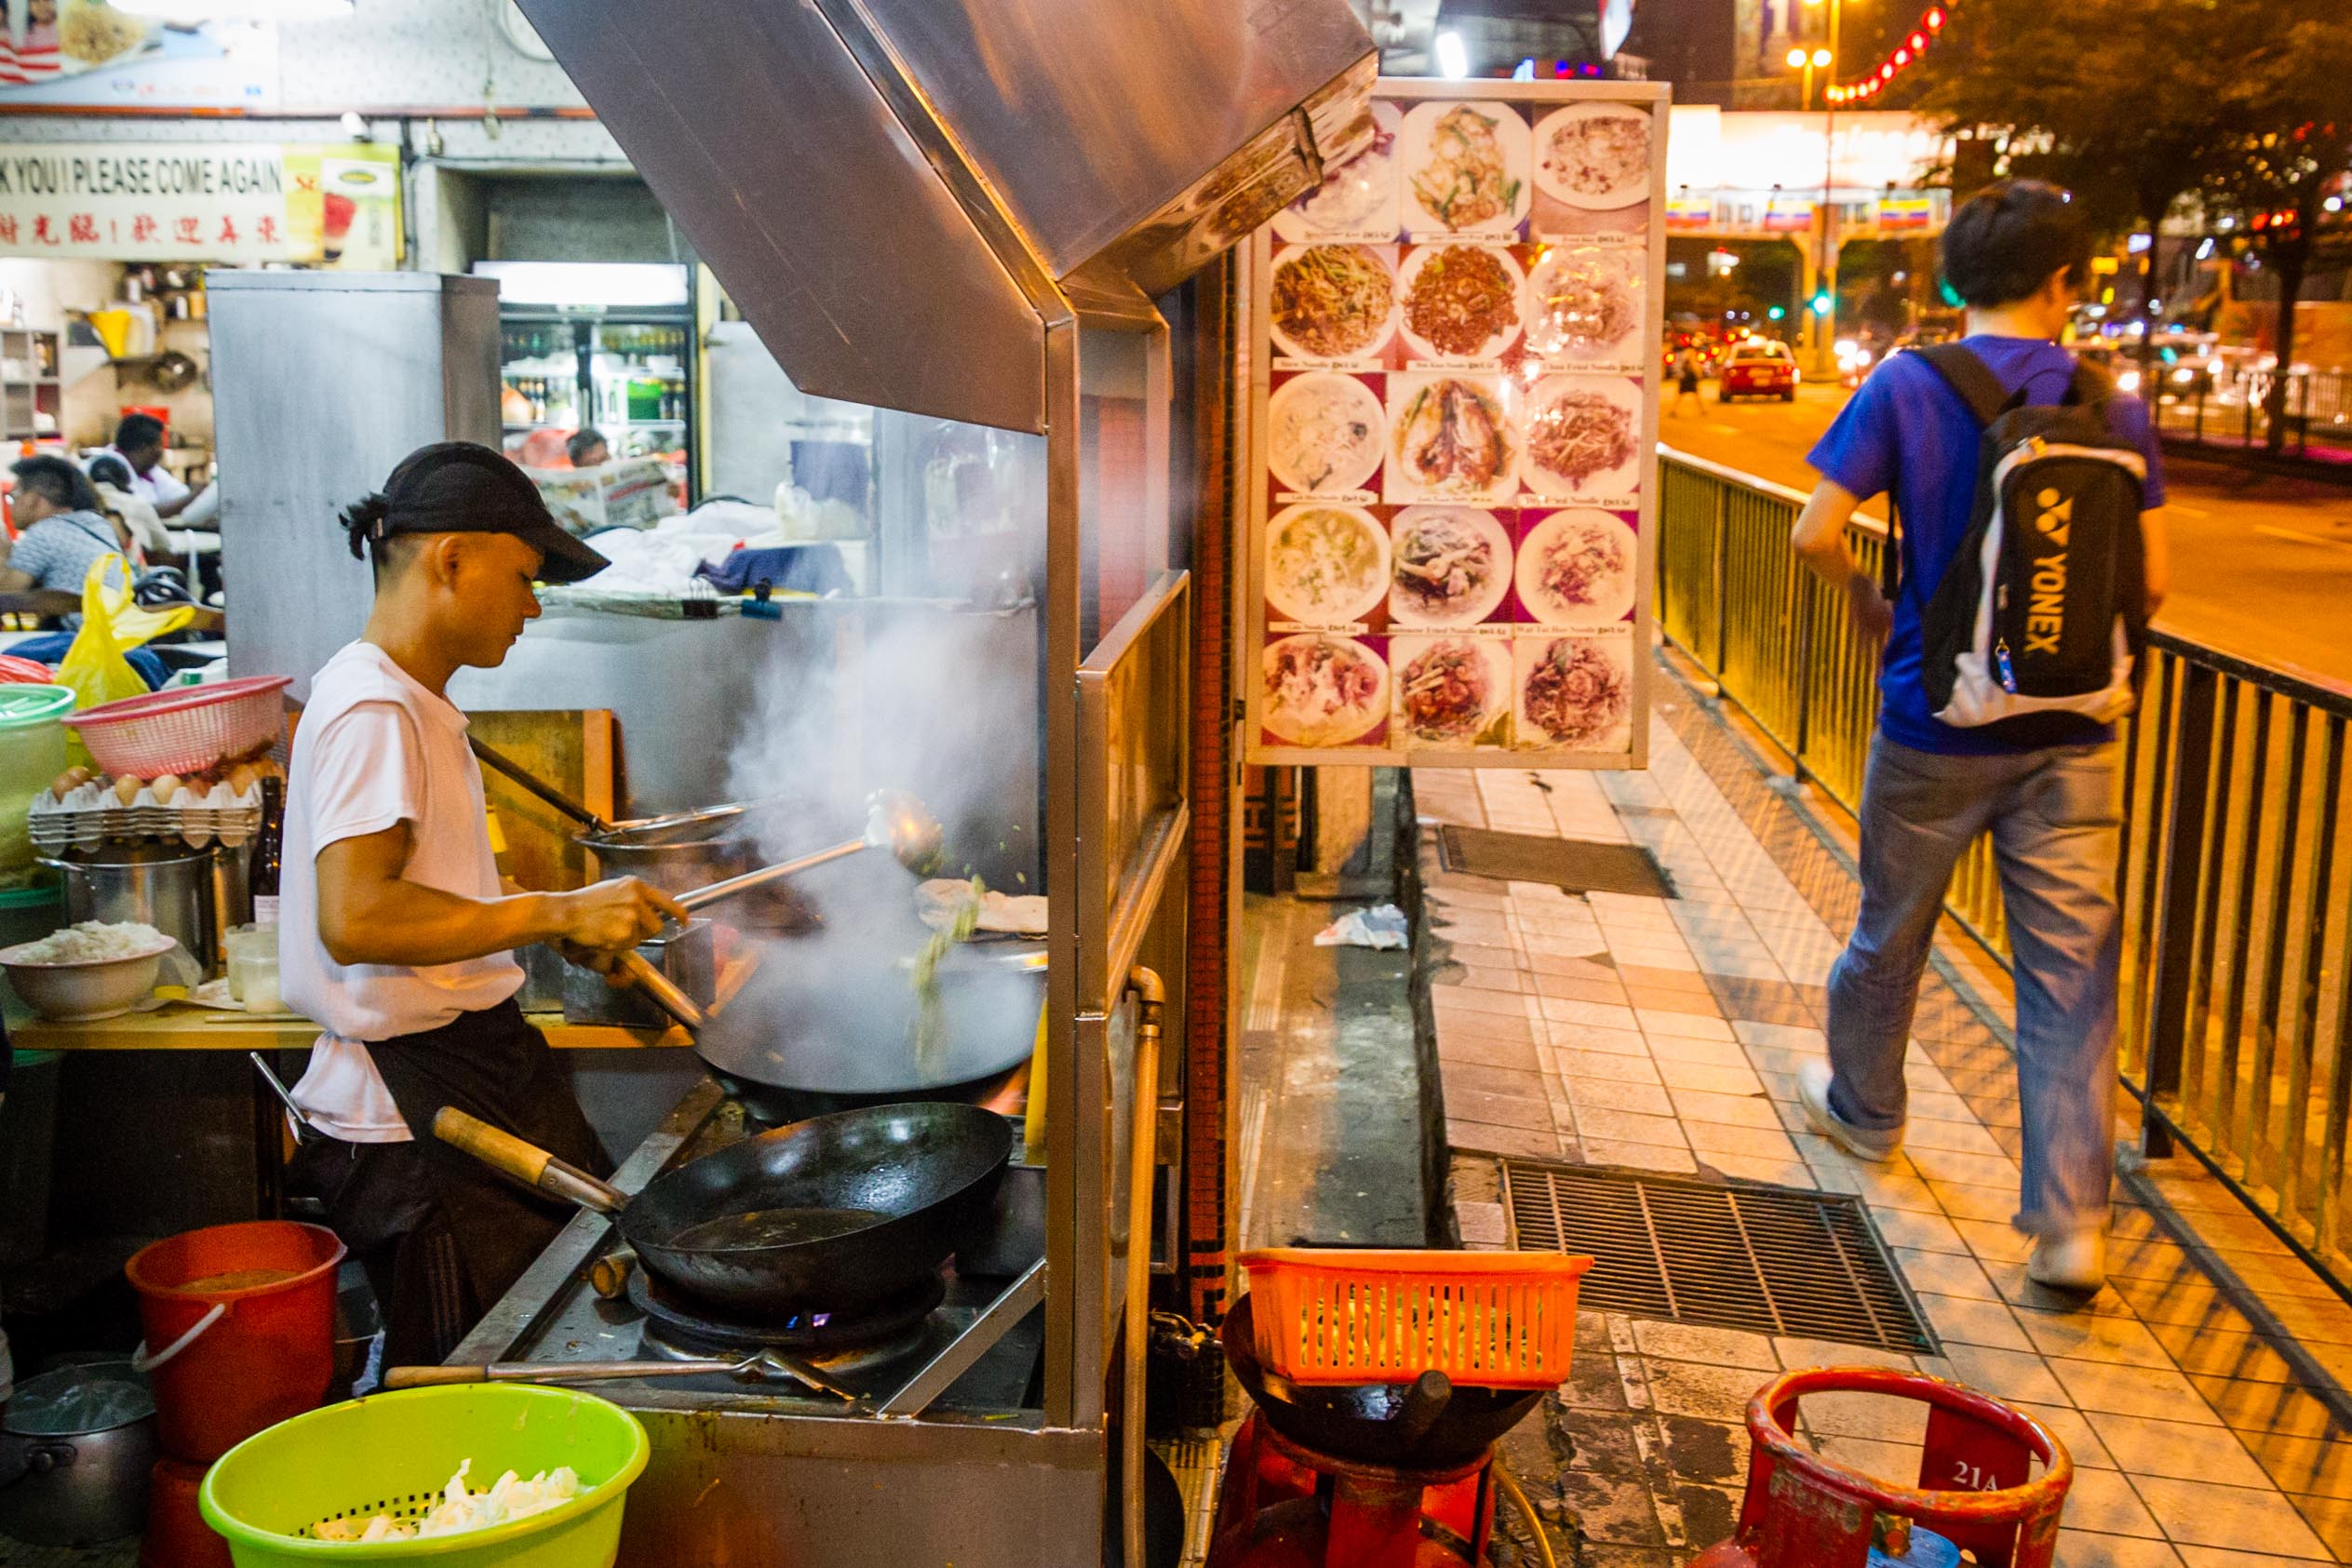
Contribute and Engage

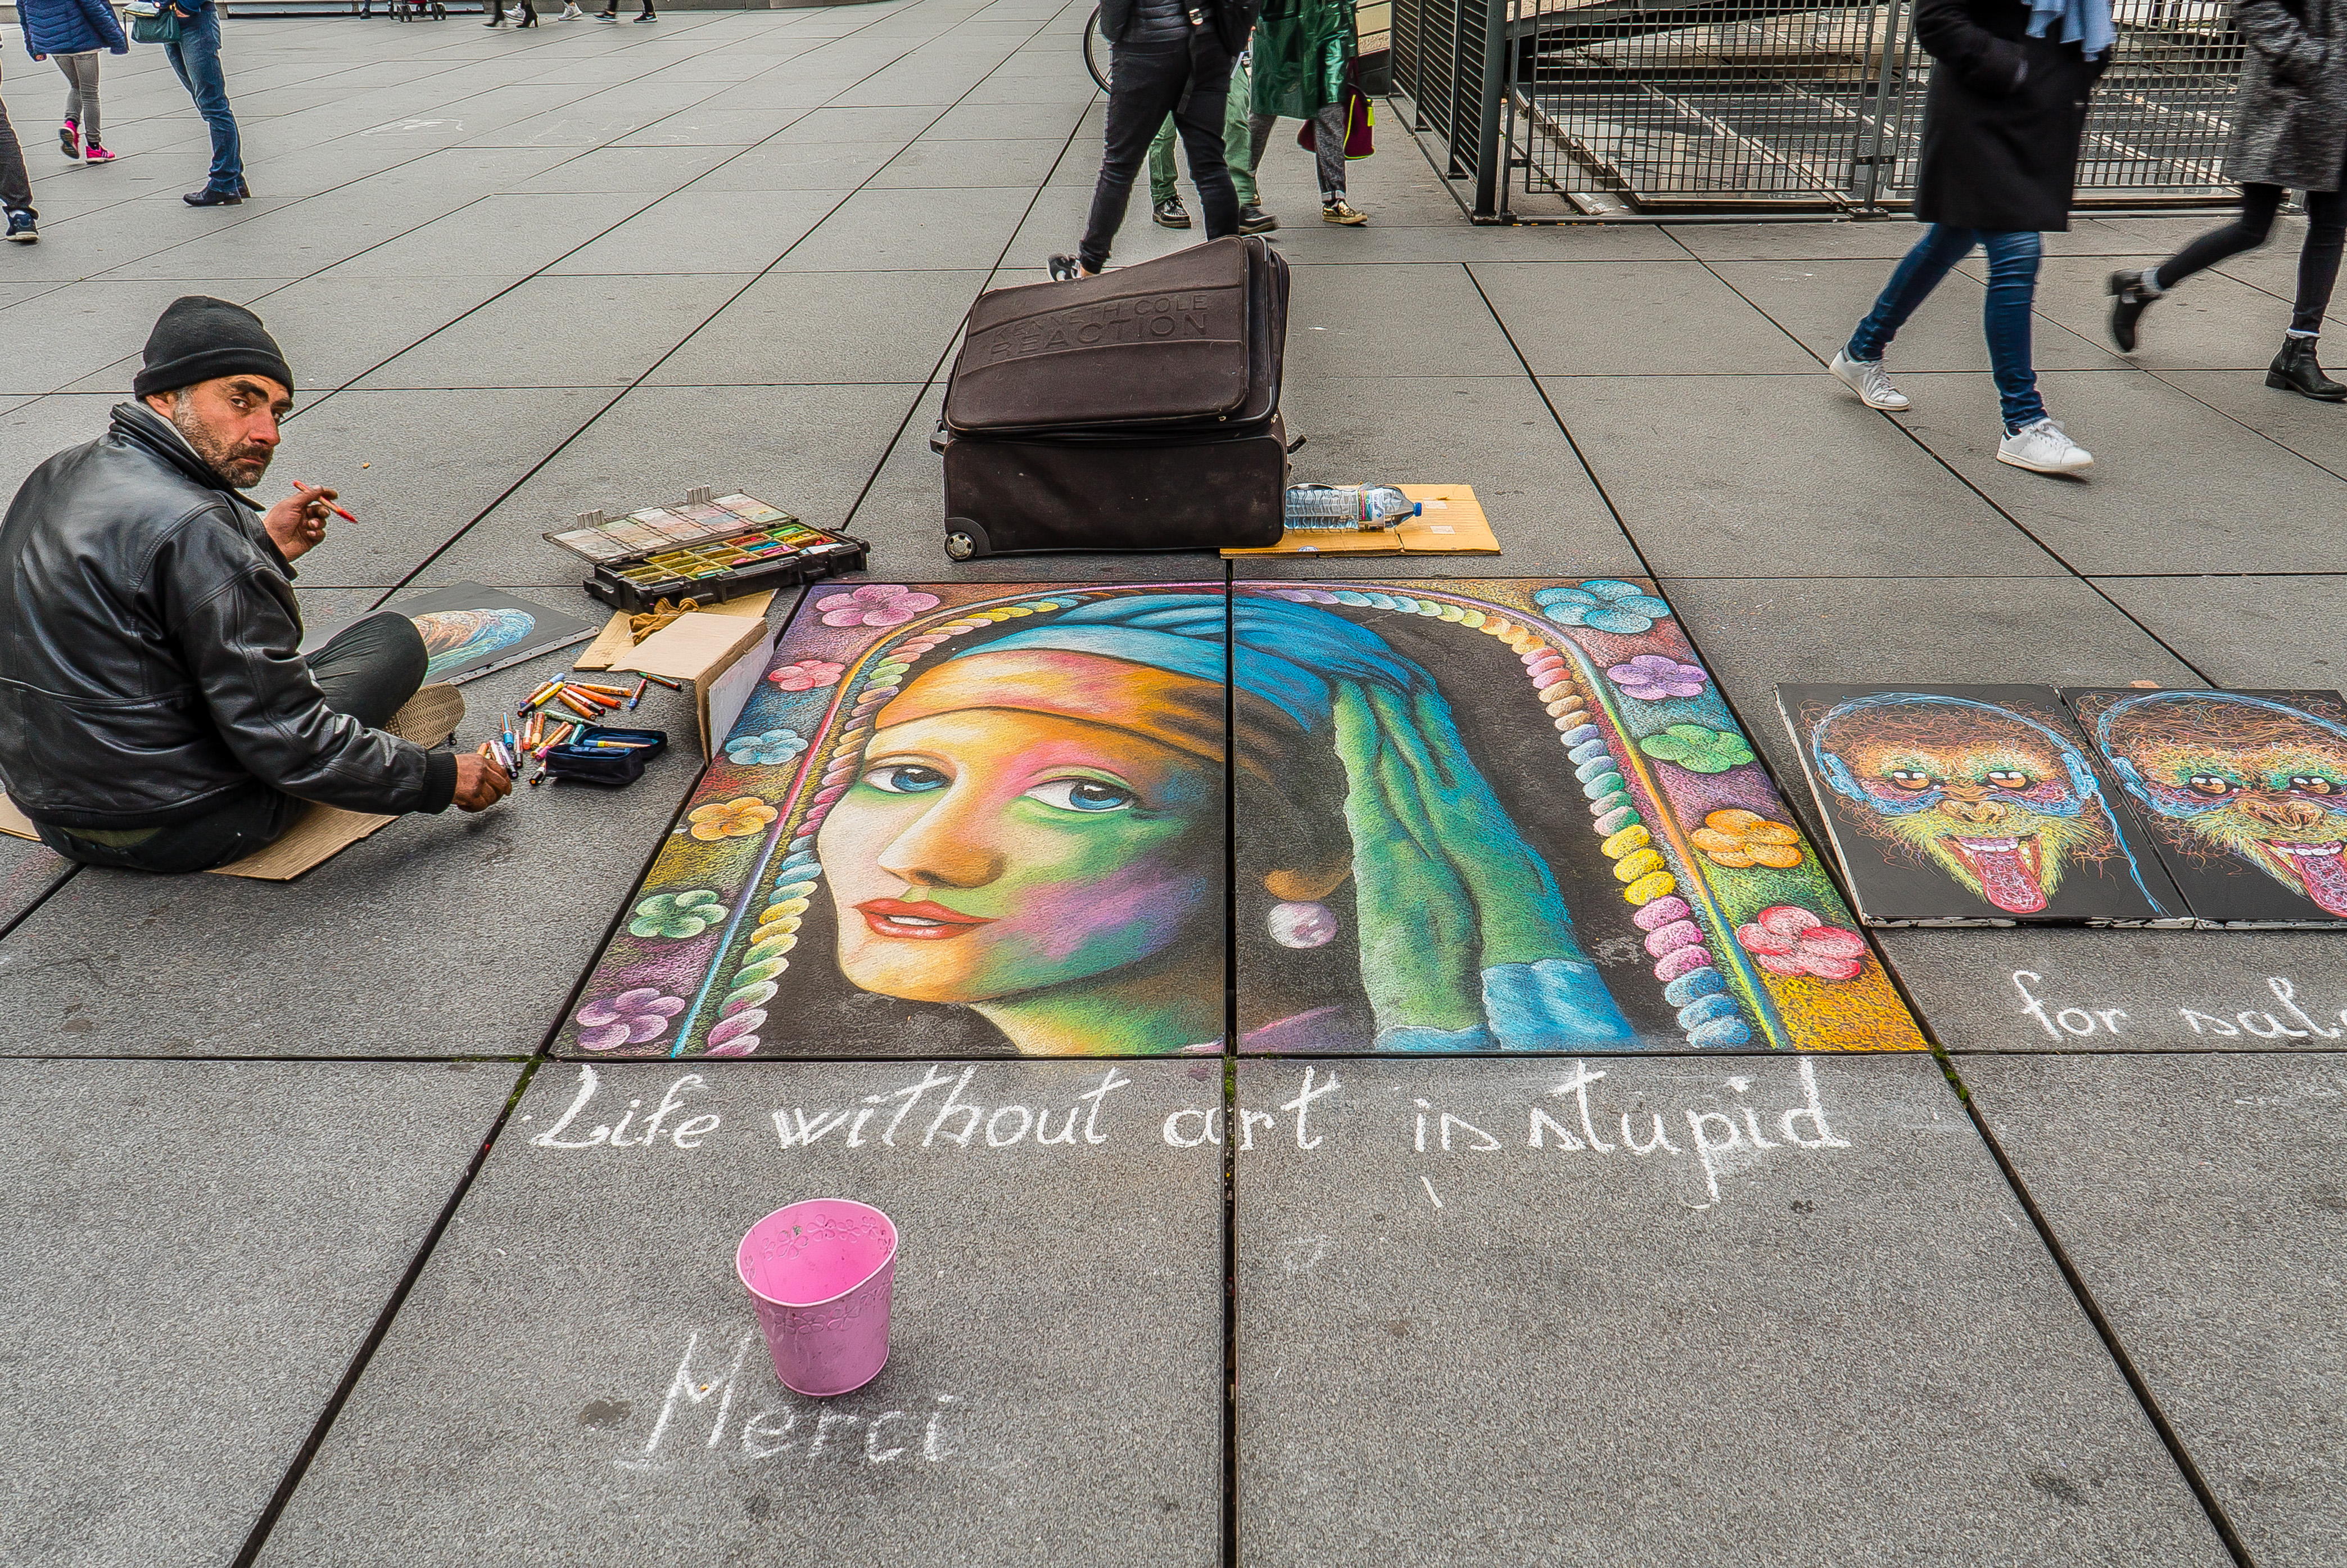
Vendors and street performers are some of travel photography’s best subjects for travel portraits. Make sure you tip in the case of performers or buy something in case of vendors. And do this before you take a photo. Often times they’ll give you a great smile or pose and allow you to take as many shots as you want. Make sure you wear a smile and be positive. This puts your subject at ease. Take to them. Interact with them. Enjoy the interaction and they will also.
TIP: Wait until street musicians start a new song. Usually, crowds begin to then once a musician finishes his previous one. Then you’ll have a front-row seat to shoot away.
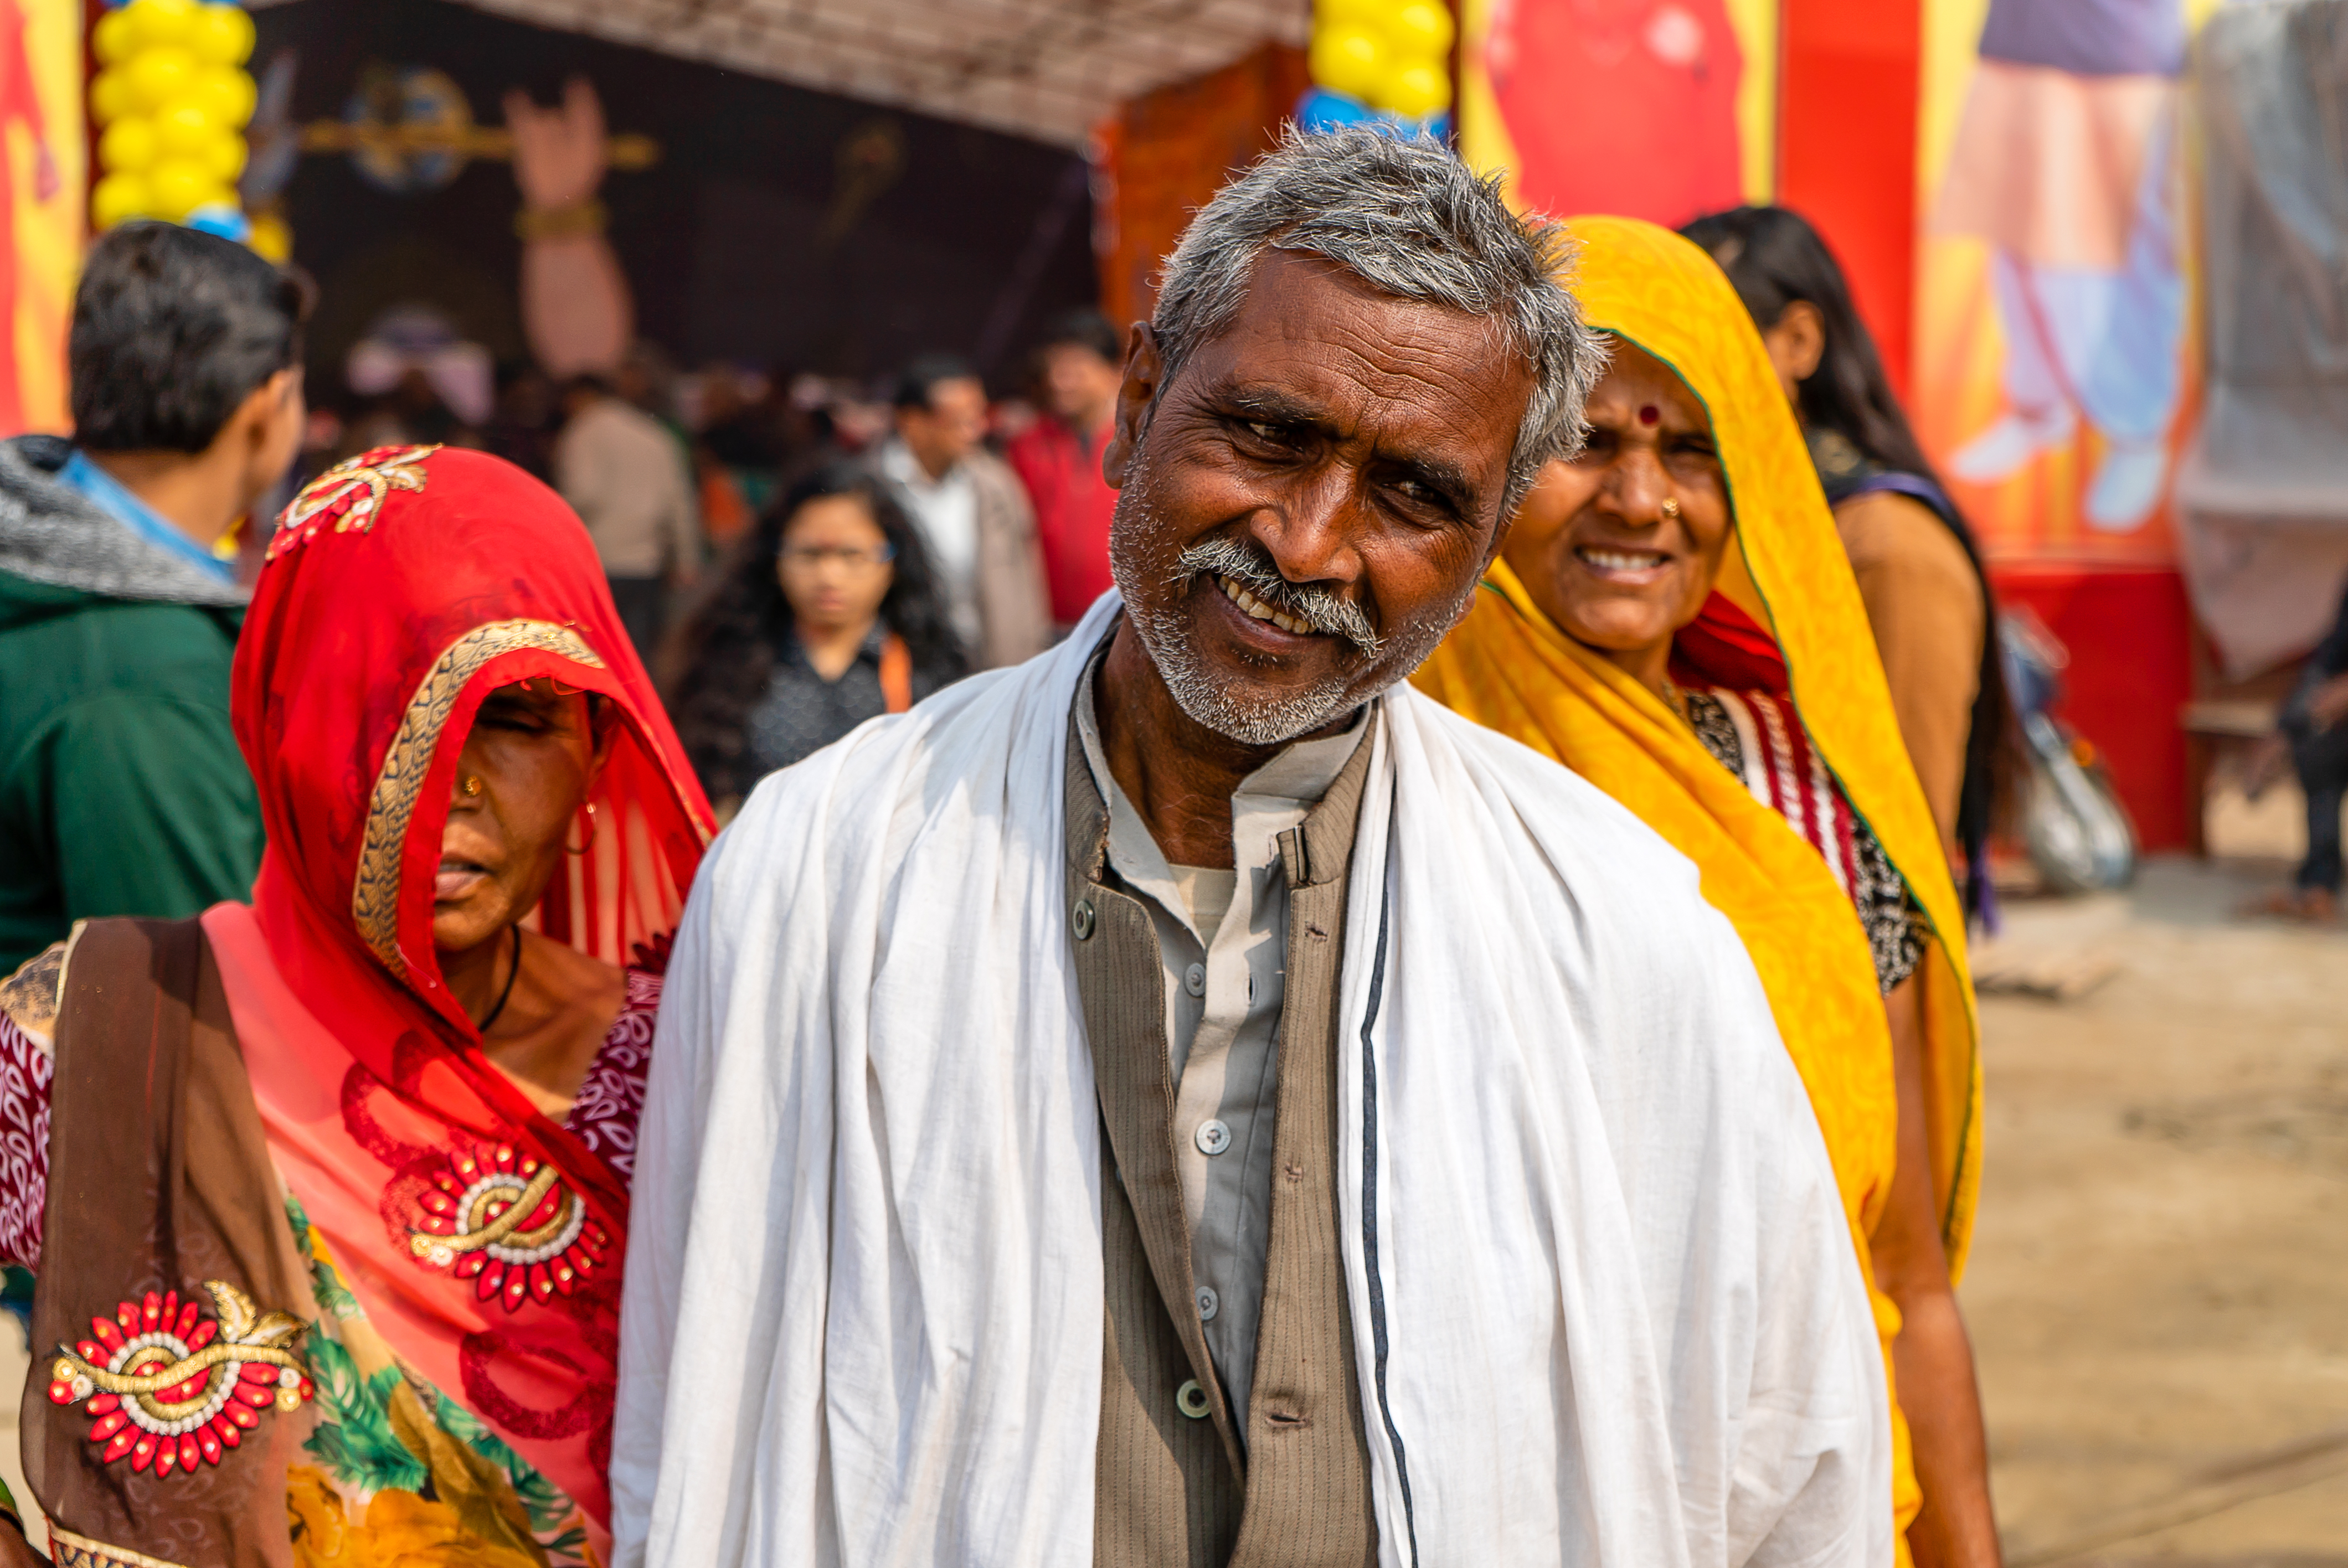
Capture What Their Doing and Learn

Context matters in travel photography. Who, What, When, and Where are in the viewer’s mind so answer those question in an image. If someone is playing guitar, get the guitar in the shot. If they’re selling fruit, get the stand in your shot. Not all images need to be full headshots. Showing you want to learn or asking questions shows an appreciation for what they are doing. This will open the lines of communication leading to more natural situations. Like laughter and smiles. Thes moments make good travel portraits, great.
TIP: Look to capture the activity more than the person. A viewer should be able to clearly understand what the person is doing.
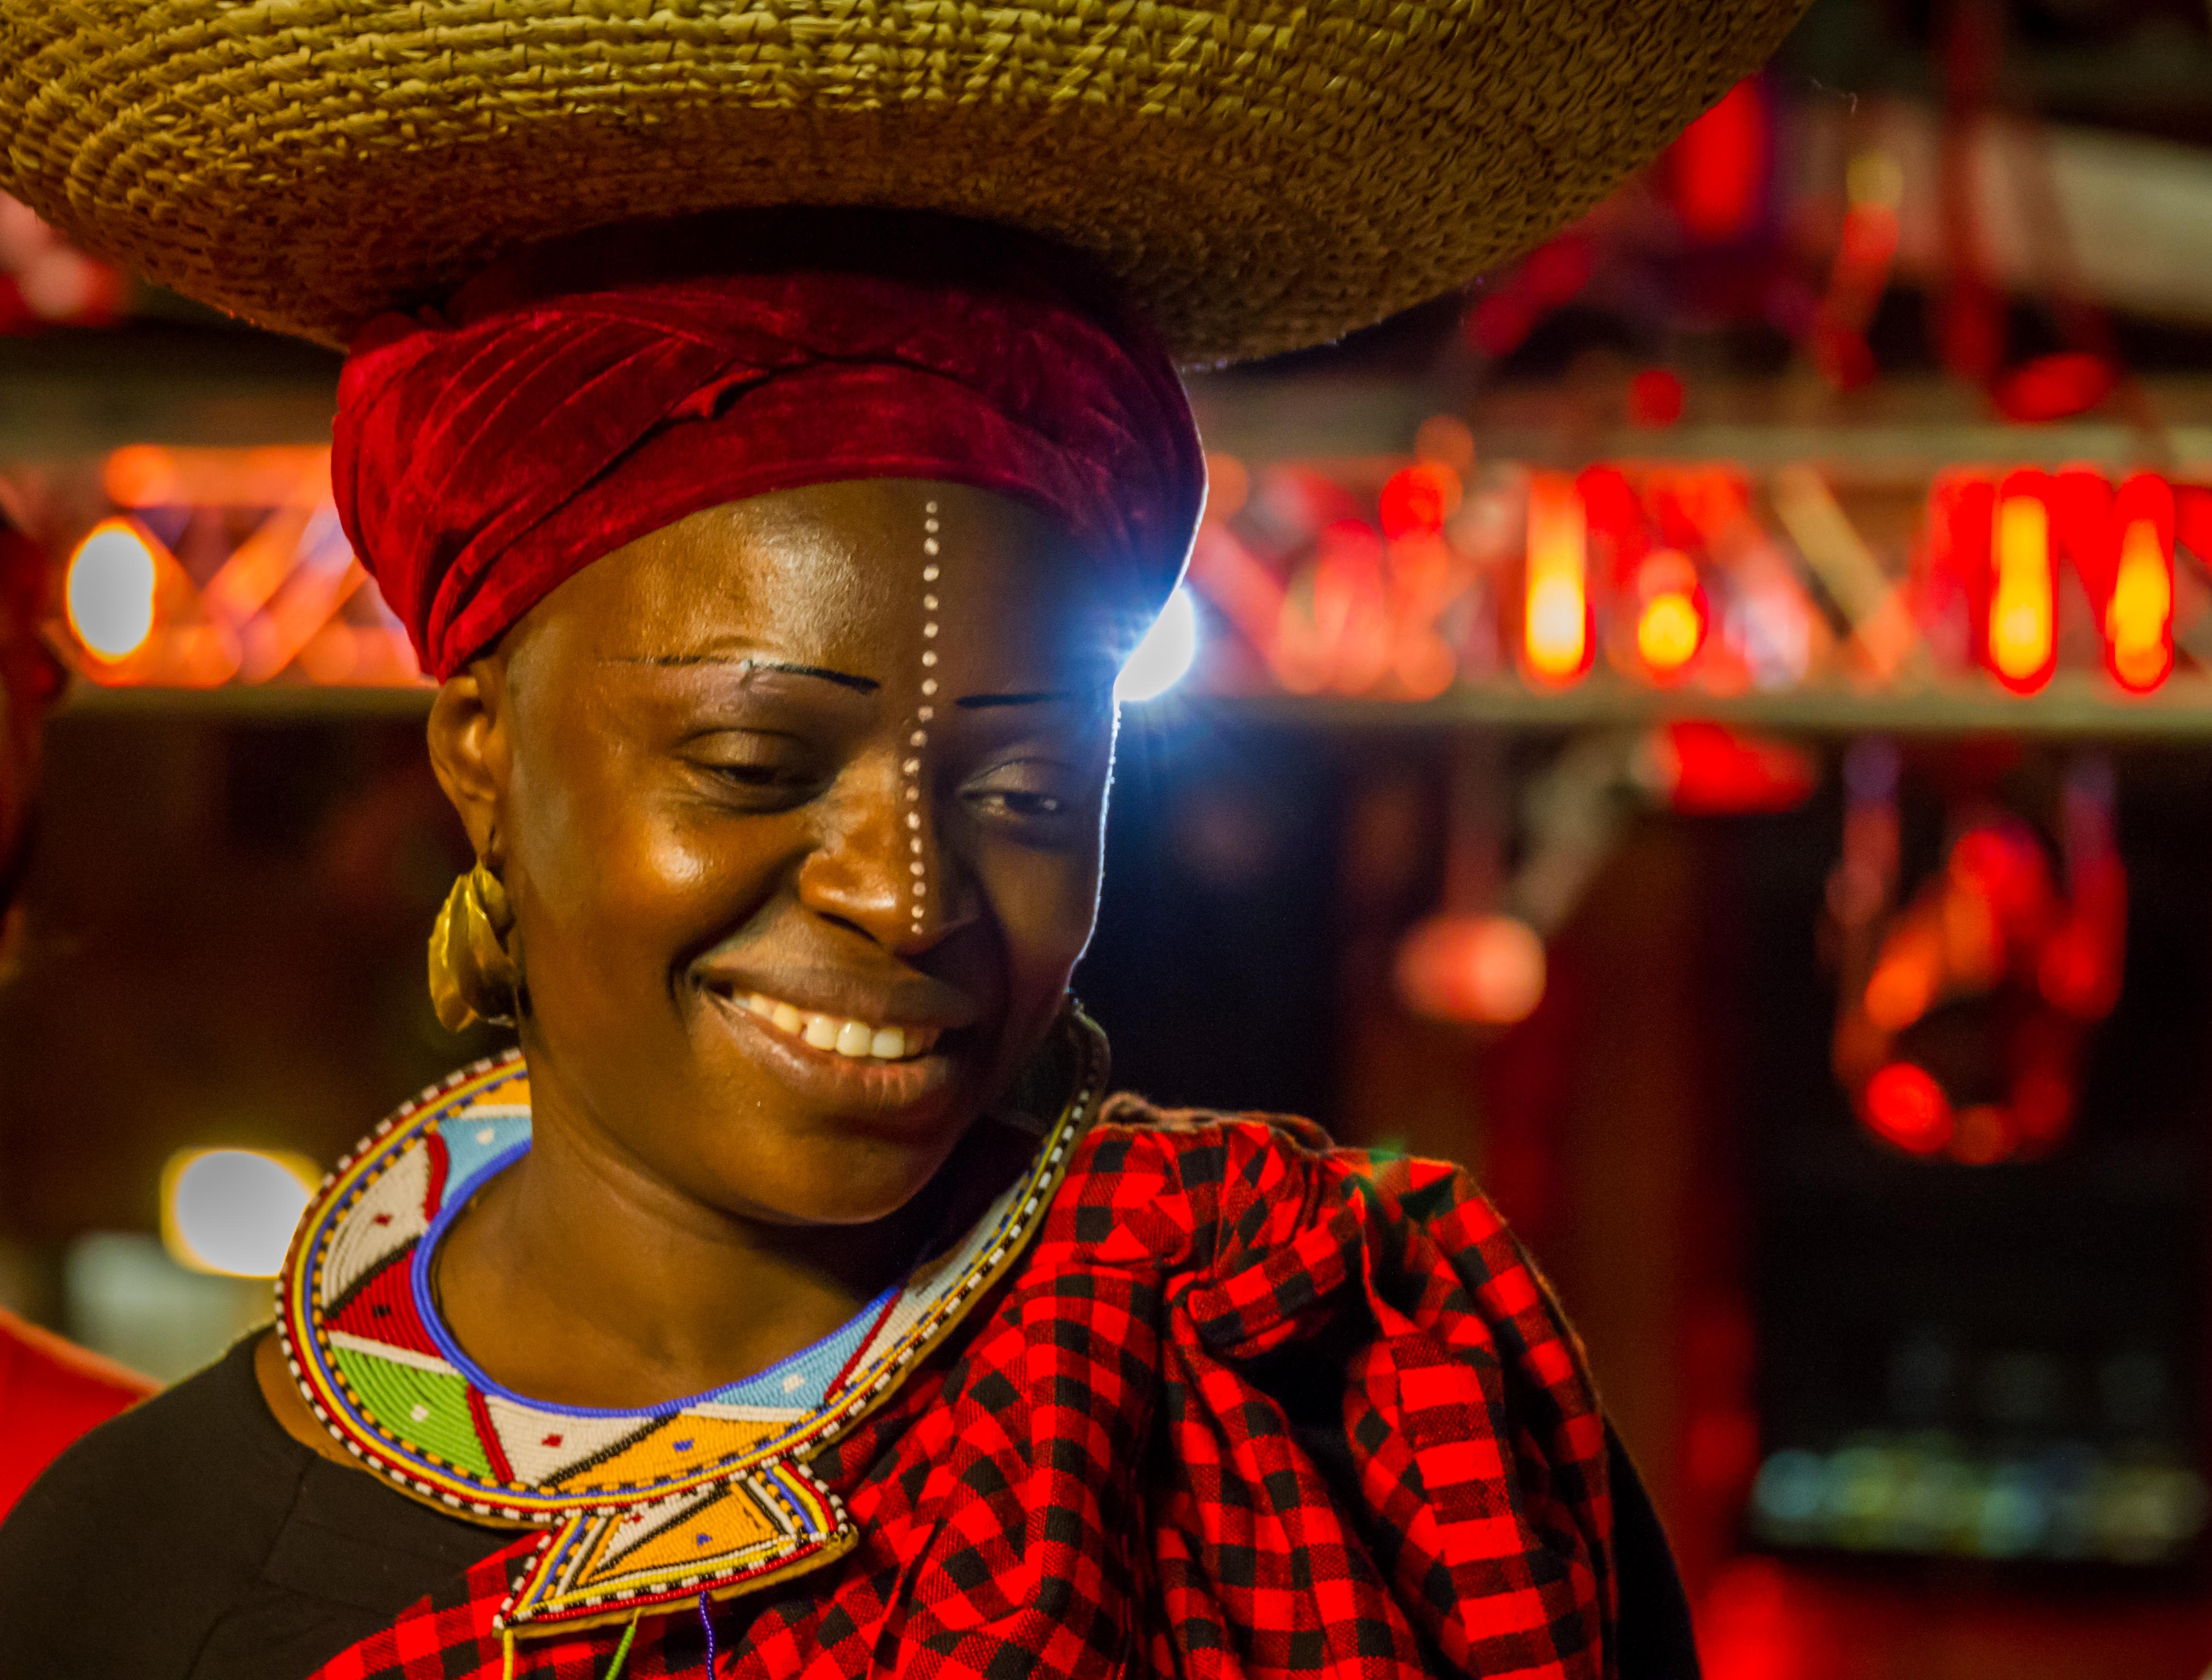
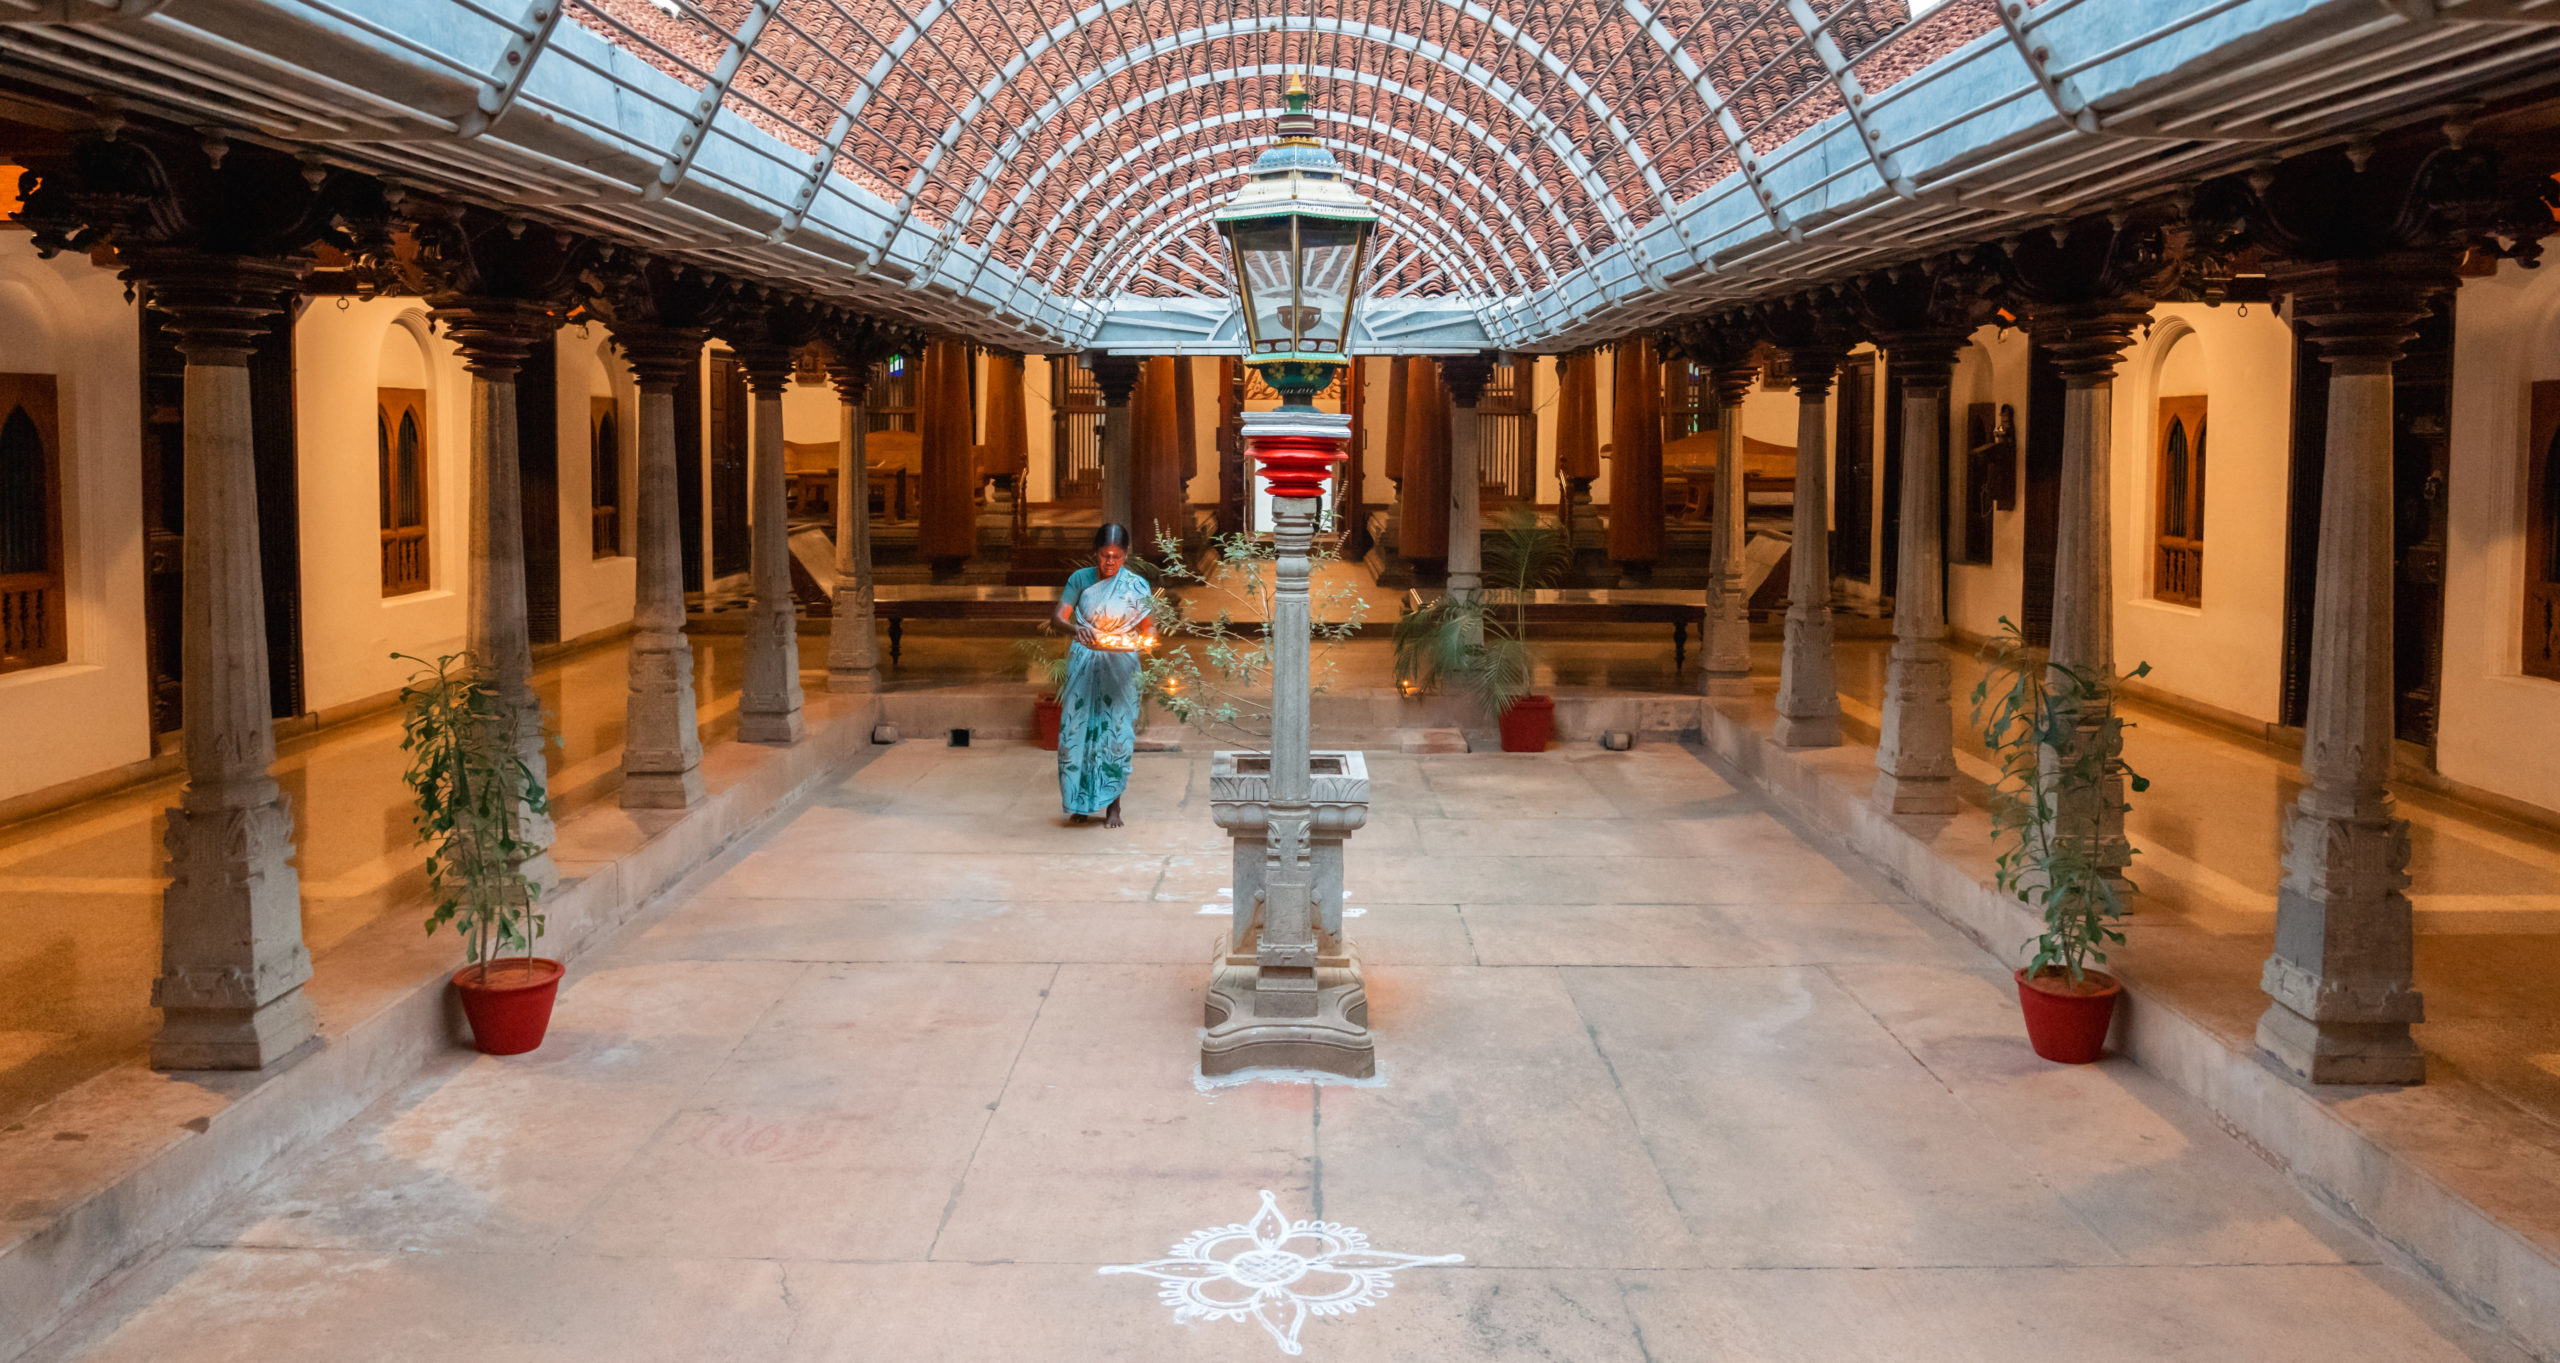
Use Natural Light for Travel Portraits

Mastering natural light photography is key in travel. You’ll often find yourself in situations where the lighting rapidly changes, or you just don’t know when the sun will be given you’re unfamiliar with a place. But learning to work with natural light is key to capturing iconic moments as it’s largely complimentary to travel portraits.
TIP: The Golden Hour, about an hour before and after sunrise/sunset. Is your best time of day to shoot natural light portraits. The light is even and complimentary. But don’t dismiss other times of the day, even night.
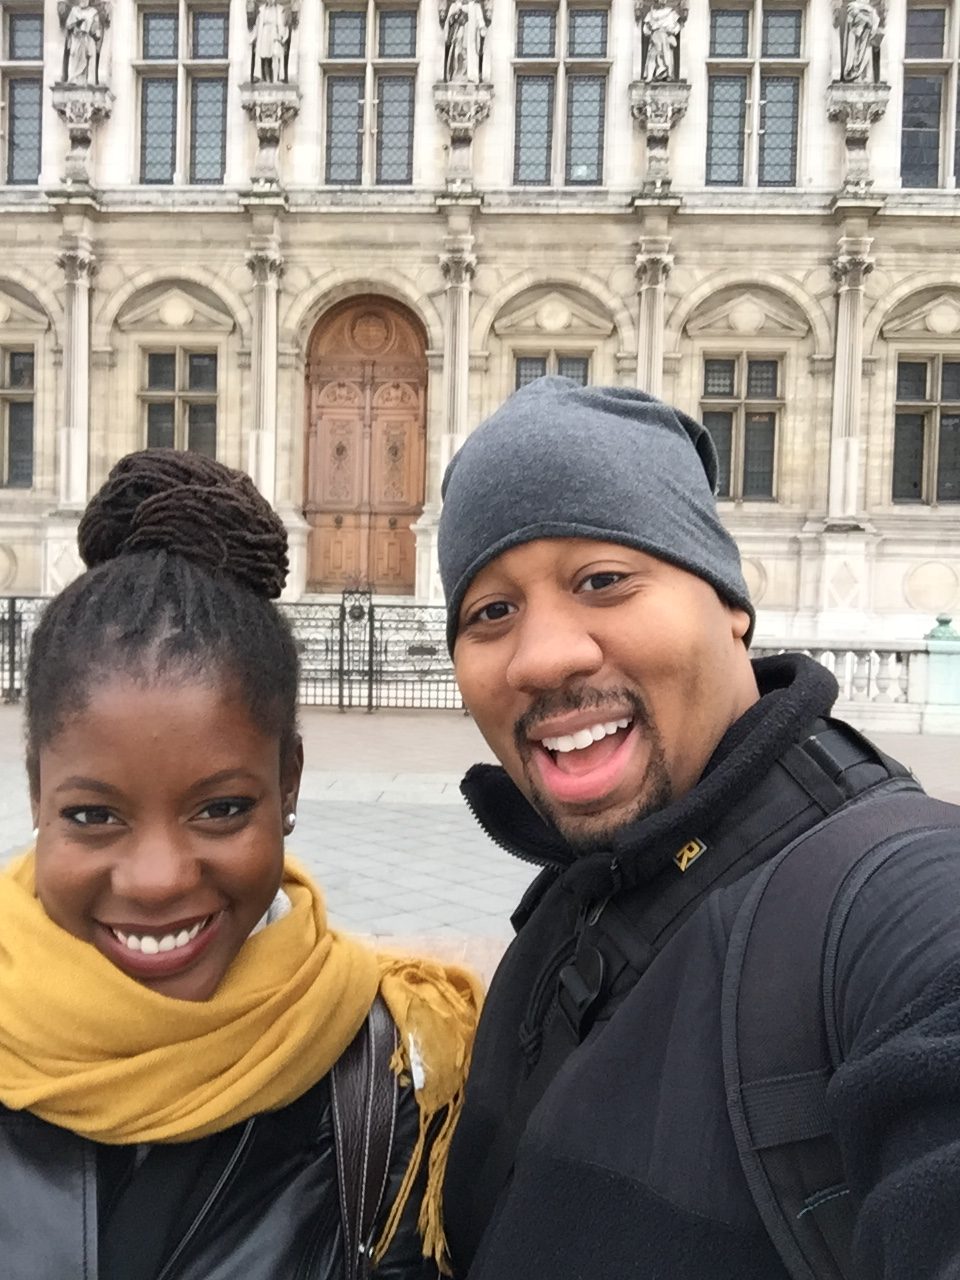
Crop Tight

Fill the frame with your subject if possible. This is certainly a personal style thing. I prefer to fill the frame with my subject when possible to capture their emotions. When doing this, focus on the eyes. And don’t put your subject directly in the center. This just might be one of the simplest travel portrait “tricks” out there.
TIP: I won’t explain the rule of thirds here but basically, frame your subject to the left or right of your viewfinder. Leaving negative space on either side.
Know Your Gear

Nothing kills a moment like your taking too long to get a shot. You should be able to get 5 quality images in less than 30 seconds. This is only achieved by being comfortable with your gear and knowing how to quickly adjust to changing conditions. Conditions change rapidly. From fast moving subjects to weather, you never know what can happen when shooting travel portraits so you’ll need to be fast.
TIP: Don’t only read the manual. Look for Youtube tutorials and additional manuals. You should be able to change the ISO, Focus Points, and Aperture without looking. I recommend about a month of daily shooting before heading on your trip. Even if it’s just photographing your cat.
Switch Up Your Angles

What differentiates ok shots from great shots is the ability to find a new perspective. Get low. Get high. Especially when you’re in a group of people taking the same shots. Observe your subject. Maybe place an object in the foreground or background of your shot from a lower angle. This is when shooting travel portraits gets fun. Here’s your chance to be creative.
TIP: Look for interesting foreground and background elements that compliment your subject and help tell the story of where you both are and what’s happening.
Understand The Culture

Cultural awareness is a key aspect of travel in general. More so in travel portrait photography. Be aware of when it’s culturally insensitive to take photos. This is where research comes in. Before your trip, you must read up on the destination and the people. Specifically, in regards to religion and religious sites. If it feels inappropriate, then it probably is. Intimate situations like prayer, families with children, or someone crying, are best to stay away when shooting travel portraits.
TIP: Personally I hate photographing in churches and rarely will photograph someone praying. Try and read guides or professional articles about a destination. In this regard, I don’t recommend many blogs. Most bloggers aren’t professionally trained journalist, and many don’t explore the nuances of culture in places they visit. Some do, many don’t.
Go Easy on the Editing in Travel Portraits

Get it right in camera first. Photography is like a cake. The original image is the cake while editing is the icing. If the cake isn’t good, no amount of icing will save it. Allow the person’s emotions to make your image. Minimal adjustments go a long way with travel portraits.
TIP: Lightroom is an excellent tool for editing. Easy to use and quite affordable.
Travel Photography Gear Recommendations
This list is meant for the amateur photographer looking to capture both portraits and overall travel images. Not a comprehensive list by any means but this will get you started. If you have any questions, feel free to comment below or email me. This list includes links to my amazon affiliates account. Costs you nothing extra but helps me keep this site going. Thanks in advance.
Body: I shot Canon for over ten years. About a year ago I sold all of it and switched to Sony. For the price, weight, and image quality, nothing beats Sony Mirrorless line right now. There are a few single cameras great for individual needs, but Sony reigns overall. The extremely light weight is perfect for travel, and the smaller models fit easily in your pocket.
Sony A6000: Entry level mirrorless. The PERFECT camera/price point. Possibly one of the best cameras ever made for the price.
Sony A6300: The big brother of the A6000. Basically the same with a few bells and whistles. Biggest, 4K in-camera recording. Future proof.
Sony A7II: A step into the pro leagues. Excellent imagine quality without sacrificing size. Suffers a bit with weight but still extremely light.
Sony A7R II: If money is no object, go for the best of the best. Simply put, this is the best camera Sony makes.
Lenses:
Portrait photography is less about the body and more about the lens. So if you’re debating between where to invest your money, the lens for sure. For portraits, I recommend sticking with prime lenses. Overall travel/landscape, medium/long telephoto is almost required. WARNING, make sure you get the right lens for the right body. All lenses don’t fit all bodies.
Sony FE 50mm 1.8: Ask pretty much any professional photographer and they’ll swear by a nifty fifty. The 50mm has long been a staple in most camera bags. At an affordable price with excellent image quality, it’s a great lens to buy while learning your style. 1.8 or lower is recommended for night shooting handheld. A bit more money to spend? Check out the Sonnar® T* FE 55 mm F1.8 ZA
Sony FE 24-70 mm F2.8: Mid-range Telephoto. This lens or something comparable has been on my cameras about 80% of the time for years. The range gives you the ability to shoot almost anything while the 2.8 aperture allows you to capture pretty decent night shots. If you get ONE lens, this is it.
Sony FE 70-200 mm F4 G OSS: Here’s where we come to the Mirrorless lines weakest. Long range lenses. The fact is, they don’t have many. That will change, but since mirrorless has just hit the mainstream, you’ll have to wait a couple years. For now, this is the best you get. And it’s not a bad lens. There is a 70-300, but the image quality is lower and aperture higher. Not worth it.
Black Rapid Camera Strap: This is probably the most underappreciated piece of camera gear ever. A strong camera strap is essential, and Blackrapid is a the top of the game. Where other straps use easily broken rings, BlackRapid uses tripod mounts. Adding to security and longevity. I’ve had my strap almost 5 years. Far better than the flimsy straps that come with most cameras.
